Wednesday, December 24, 2014

Whetting bush on cabin peak


The log work is done and properly topped out with the whetting bush just in time for Christmas. Things went very well with the placing of the ridge log and getting the five tenons lined up and seated took only a little help from a come-a-long to pull the back well in about 1/2 an inch and a few taps with the commander.

The gable end logs on the back wall were trimmed off the match the roof pitch and look good. I left the log edge 1.5" higher than the roof line for now. My reasoning is that even though the logs have been cut and drying for three years there may still be some shrinkage. This way I will be able to measure any shrinkage and will wait until the final cabin assembly to trim them flush to the roof line and insure a tight fit between the logs and the roof boards.

 My next project will be to frame in the gable end window plan. The front end will be made up of 8 triangular glass panels. Each triangle as seen here will be split in half and then each of those resulting triangles also bisected. Calling around now for quotes on plate glass vs thermal panes.

Tuesday, December 16, 2014

Cabin building Safety. THINK! What's the worst that could happpen?

A few years back I took a field trip to see the wind turbines they were putting up in Monfort, WI. 
While waiting in the construction trailer I saw a sign that read, "Safety, THINK! What's the worst that could happen?" An odd statement but when I stood next to the blades/hub assembly seeing the size of these things up close and personal it made sense.

As a former high school shop teacher I know the value of learning and sharing what you learn. Especially when it comes to safety and a "close call event" when working on anything. I know and respect the dangers of log handling in building my fourth log cabin. However, there is always more to learn...

Ugh! This could have been bad, very bad.

The eye hook stripped out and the log dropped from the top of the cabin. I had taken many safety precautions in using the chain fall and raising the logs. THINK! What's the worst that happen? However using a safety strap was not one of them.

It is now though!

Just thought I would share and pass along my "close call event". Note: the eye hook is necessary to be able to set the logs in place on the wall. A strap alone would not work as it would be trapped under the log as it was placed on the wall.

At this point I have 4 of the 6 purlins up and 2/3's of the gable end logs in place. One more pair of purlins to scribe in and then place the ridge log and the cabin will be roughed in.


Monday, December 8, 2014

Rafter trusses up

The first one went up nicely with the help of my trusty yard arm, chain fall and block and tackle. After raising, the bottom chord had to be scribed and notched to the cabin wall so that the center line of it was 80" from the cabin floor. This gives me a 6' - 2" head clearance in the cabin.

The front truss would be last to go up.

I built some false work between the cabin and scaffolding with two inch material to support the truss members for assembly. (At 20 to 25 pounds per linear foot of log the whole truss would weigh between 1000 and 1250 pounds! This would require more than my simple yard arm.)

Using the chain fall to start the lift then an assist was added with a cable that ran through a pulley attached to the middle truss peak and down to a winch mounted to the floor of the cabin.

With the three roof trusses up and fitted to the cabin wall now it is back to the gable end and roof perlins. This will be a tricky process as each gable end log that intersect with a perlin will need to be scribed and cut to fit.

First two perlins in place with a gable end log ready to be lifted up and scribed to fit. Hope the weather cooperates.


Saturday, November 29, 2014

Gable end complete

With the help of my "crane" the job went smoothly. Each log is pinned to the roof truss with two 10" GRK timber screws. A bit pricy at $2.50 each! Then I drilled two 7/8" holes down through each log for wooden pegs that will be driven in at final assembly time. Should make for a strong, secure gable end.

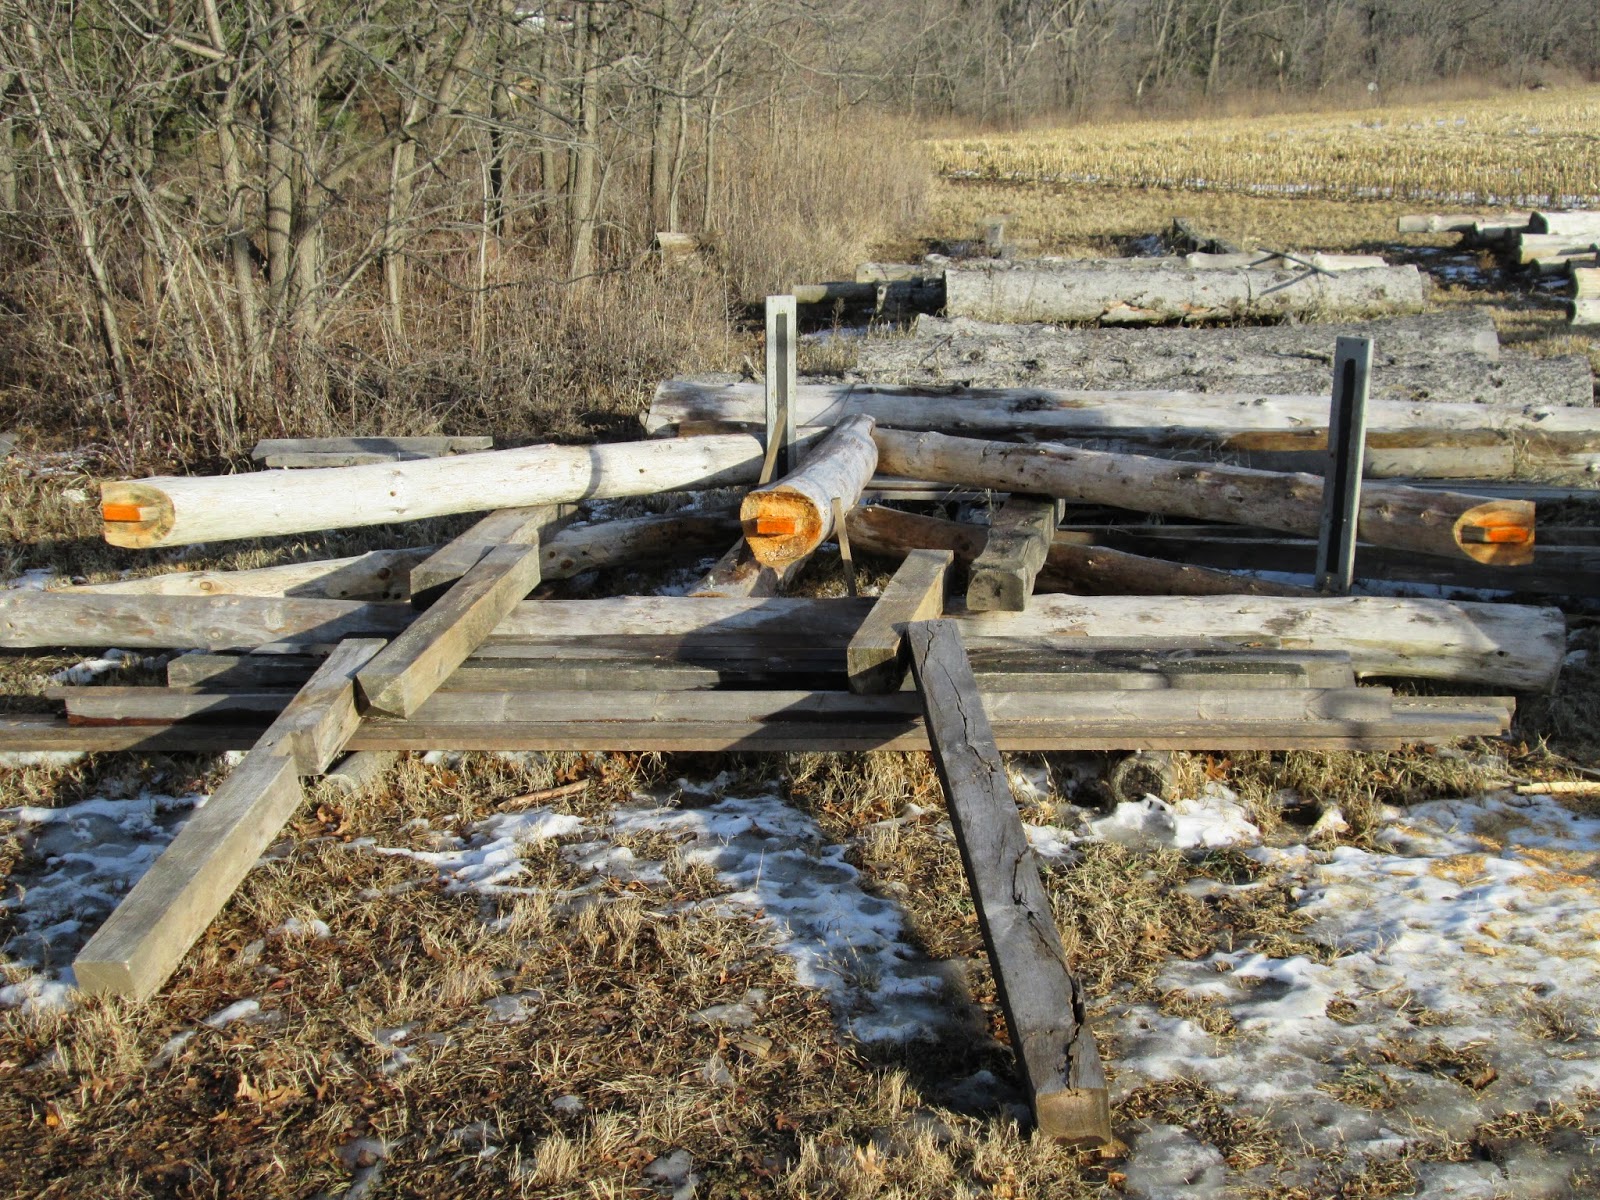
From the inside of the cabin this is how the gable will look. When the logs have been cleaned up and finished it will be impressive. The ends have been left long as they have to go to the top of the perlins and the be cut off to butt and match the roof boards on top of the perlins. I have painted the south ends of the logs so they don't get turned around when I take them down and rack them while I work on placing and notching the middle truss.

With the bottom chord of the middle truss removed I decided to paint the tenon ends of this truss orange so they stay as a set. The front truss will be painted red and the back truss will be brown. I also placed 2" GRK screws in the side of each truss member facing the rear of the cabin. More insurance to eliminate the chances of rotating or flipping any of the parts during the process of putting the truss together on the top of the cabin walls.

Here is the bottom chord notched and in place. Three 2x6 planks will be placed on top of the walls on this end of the cabin. Then I'll position the "crane" so that I can lift the rafter parts up and reassemble it. Then the assembled middle rafter will be rolled up to vertical and braced in place.

Then use the crane again to assemble and lift the back truss and gable end logs. Tie the two trusses together and move to work on cutting, fitting and raising the front truss. Having some serious fun now!


Monday, November 17, 2014

Gable end logs going up

Finally real cabin building weather has arrived. Ten degrees out with a nice 15-20 mile per hour breeze! Real crisp weather to begin work on the gable end logs today. Here you can see the first log that has been taken off the back wall and attached to the log truss rafter.

With the second log in position and spaced I could determine the amount that would have to be removed from the back side of it to to get the log centered over the first log.

A couple of inches chopped out did the job. Now the log is centered on the wall and the groove can be scribed and cut.

I have to do some cutting on the ends to match up with the perlins and will have to think about just how I will do that. Then there is the top to consider because the perlins are 3 inches higher than the top of the rafter. May have to pull a couple of perlins out of storage and size them up. I plan to drill holes down through the gable end logs and peg them. Then when the cabin is assembled on site I would drill a few holes through the gable logs up at an angle into the rafters to secure them in place.
Plenty to think about.


Monday, November 10, 2014

Cabin walls are up, now back to the roof

It has been a labor of love and the weather has been good! Glad to have gotten the logs on the wall before the snow came and made things more complicated. Now it is back to the roof and placing the trusses and gable end on the walls.

The roof trusses were built this spring on the cabin floor, removed and then stacked off to the side out of the way while the cabin walls were being cut. Now I will take the bottom chords of each truss to the top of the wall where it can be notched and fitted.

Since the bottom chords have been flatted I needed to come up with a way to raise them and came up with this set up. I had the yard arms left from when I raised the ridge log in truss building so I fastened them to my scaffolding and used my chain fall to do the work.

With a little bit of tweaking it did the job nicely.

Because the back gable end will be made of logs the back truss needs to be set in from the cabin log wall. The notch to fit the bottom chord to the wall was new for me but I think it will do the job.

The fit is good and now I can notch and groove the first gable end log and see how it matches up with the bottom chord truss log. I will then remove both logs from the wall. The truss will be assembled and braced up on the ground. The first gable end log will be put in place next to the bottom chord. Then the rest of the gable end logs can be placed, scribed and cut while at ground level.

Well at least that's the plan.


Sunday, October 26, 2014

End of my rope...

At this point the logs are up over my head and work must be done from ladders and scaffolding. Very time consuming and a real pain! Work goes on but slower and slower the higher I go.

As the walls go up the 10 foot ramp incline becomes steeper and steeper. The logs become heaver and heaver. No chance now of being able to pull the 200 - 300 pound logs up without the help of my block and tackle.


This brought up another problem solving/learning opportunity. How to get more pulling distance out of my block and tackle. Rigged with 100 feet of rope I had only a 25 foot pull. Two anchor points would do the trick but there would need to be a way to tie off the par buckled rope and hold the log midway on the ramp while re-rigging the block and tackle for a second pull.

A short piece of chain was used to anchor the rope par buckle which is under the considerable load of the log being pulled up the ramp. Once the block and tackle is loosened the chain takes the load and then the block can be lengthened and re-hooked to the remote anchor in the ground away from the cabin for the second and final pull bringing the log to the top of the cabin wall. Tricky but easy!

Sunday, September 21, 2014

Getting a log off the rack

In the process of building a cabin there are many parts of the process that may go unappreciated by those outside of the actual process. This post is to give one of those small but very necessary parts of the process credit. That of getting a 4 to 5 hundred pound 20 foot pine log from the rack to the actual cabin wall.

This log needed to be moved across the pile first. To do that a set of tie rods was used to stabilize the log and then the handy man jack raised each end until planks could be placed under the log.

With the log rolled across the planks into position and now onto rollers the log can be easily pulled from the rack on these rollers.

With the log pulled from the rack the log mover can be positioned over it.

The log mover is attached to the log at its balance point. Making lifting with the ice tongs a one handed job.

Then the log can be easily rolled into position for raising up onto the cabin wall using the rope parbuckle.

Run through this process just 18 more times and the walls will be complete! Note the rough opening for the door has been cut to allow entry to the inside for log work.


Monday, September 1, 2014

Lock Notches, Why and How

I have to say that log cabin building is not as straight forward as most would think. Get some logs cut some notches and pile them up. How hard could it be? Everyone did it 150 years ago and just with hand tools. No chain saws.

Well if you have been following the construction of cabin #3 you know there is more to it than meets the eye. Lock Notches are just that. Take a look at the picture below of the first one in this cabin.
Can you see it? Well lets take a look at the why and how of Lock Notches...


With the log sitting on the rough notch and the final notch scribed in orange you can see that if cut this deep (over 1/2 of log diameter) it would weaken the log at the notch. The solution is to cut a  Lock Notch. This will be a block of wood left in the notch. The orange horizontal line going through the middle of the notch shows the size of the block to be left in the notch. About 3 inches in this case.


With the log rolled over the notch is cut to the depth of the block to be left in the notch.

After being cleaned out the width of the block to be left is laid out. The material on either side of the block (marked by X's) can now be chiseled out as per final scribe.

Next the receiving notch for the block is laid out in the lower log.

Both halves of the lock notch cut and ready.

Walla! Now do you see the lock notch?


Tuesday, August 26, 2014

Round two completed

The logs for round two of the cabin are completed. This was a good chance to fine tune the process of calculating, scribing and cutting the saddle notches to the correct depth so the tops of the logs for even numbered rounds will be at the same height. Looks easy enough, right? But when you think about it the logs are tapered and different diameters on the ends, maybe not.


The tool that makes it possible is the Log Scribe. A dividers with a point on one leg and Ink pencil on the other.

What makes it work are the two levels that keep the dividers in the correct planes while you move it along marking the line for the saddle notch and groove cuts. You keep your eyes on the levels, not the pencil! This takes some practice to get the hang of.

With the lines marked I like to chisel the line for a positive reference so as not to over cut it when using the axe or saw.


And if all goes well this is what you get. All four corners at a height of between 21" and 22" with a minimum 3" wide groove making contact with the log below it. When the EM Seal expands in the groove the joint will be air tight.

With the new school year starting this brings to mind the old saying about learning and it applies here for sure. "I hear it I forget. I see it I remember. I do it, I understand!"