First before we get to the squinted half lap joint I had to put in the cross tie that would hold the cabin walls together and support the loft floor hoists.
The original cabin cross tie log used to support a second floor to the cabin had a half dove tail cut on the bottom. With the log laid the original way there was quite a sag and I did not want to put a post under it. I decided to rotate the log and cut a new half dove tail on the side.
After drilling, sawing and chiseling the log fit nicely.
The cross tie is back a bit from the 7 foot distance I planned for but did this to be able to use one of the existing notches. This will cause a bit of a problem with the scaffolding and winch but will work around it.
Ran short of 24 foot logs and need to add a piece to the extra 18 footer I had. After putting some sleepers under the logs to support them I did the layout.
This is a tricky joint and with logs can be problematic. Careful planning and lots of thinking is required.
There are four basic cuts for a squinted half lap and they are all important! First the squint angle was cut on the ends. Then the half lap was ripped with the saw. Next the waste piece of the half lap would be cut off. This is always the part that gives me pause... there is a 50 - 50 chance of getting it wrong so I like to look it over a couple of times from different angles to get it right. The "X" marks the waste... or is that the piece I want to keep? The squint angle keeps the long piece of the half lap locked into place and secure.
Got it right and the pieces fit together. Now with some parallel clamps holding them together it is time to "saw up the kerf" and get the joint tight. Here you can see the gap at the point where the pieces meet up.
Run the saw through the kerf making the cut parallel, do this on both sides, drive them together and repeat as many times a necessary and you will get a tight fight.
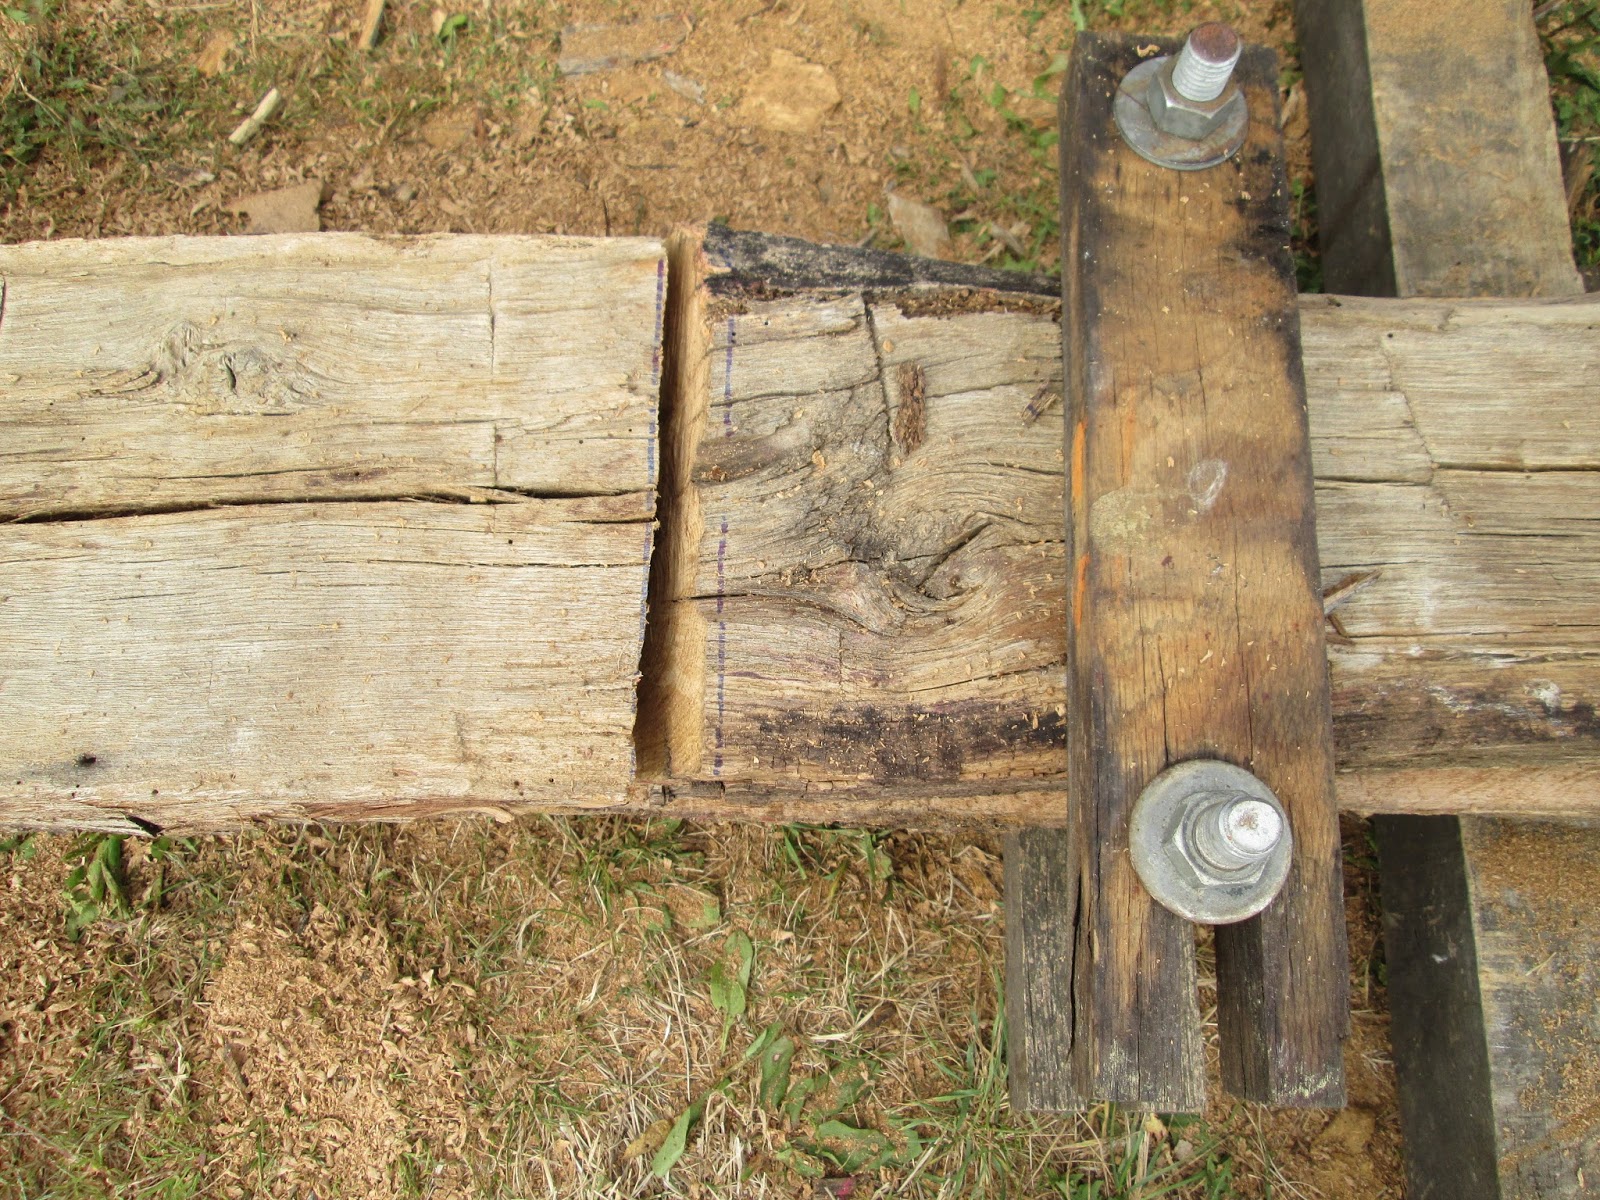
And last, "draw bore" the holes for the pegs that will hold the joint together. What this requires is drilling the peg hole through just the first piece of the half lap. Take the pieces apart and then drill the second half about 1/4" to the side of the hold so that when you drive in the peg it will pull the two pieces into the squint. In the picture you can see the amount of offset by the blue line on the bottom of the hole. Here again your have a 50 - 50 chance of drilling this on the wrong side of the hole and getting it wrong. Thinking is critical. Those pioneers are pretty smart.
And here you have it a squinted half lap joint joined with draw bore pegs. Nice and tight. Pretty neat!
Here the log is in place on the cabin wall. This log has some rot issues and was placed in the down position to shed any water. Also in this round as the next round will have to support the roof rafters so the joint will not be an issue. Only one more round, 4 logs to go and then the log work for this cabin is done!
Next loft floor joists, the rafters, the gable ends and the stairs to the loft. Piece of cake right? The porch roof will have to wait until the cabin is on site because the post for the porch will sit on a deck.