With the help of my "crane" the job went smoothly. Each log is pinned to the roof truss with two 10" GRK timber screws. A bit pricy at $2.50 each! Then I drilled two 7/8" holes down through each log for wooden pegs that will be driven in at final assembly time. Should make for a strong, secure gable end.
From the inside of the cabin this is how the gable will look. When the logs have been cleaned up and finished it will be impressive. The ends have been left long as they have to go to the top of the perlins and the be cut off to butt and match the roof boards on top of the perlins. I have painted the south ends of the logs so they don't get turned around when I take them down and rack them while I work on placing and notching the middle truss.
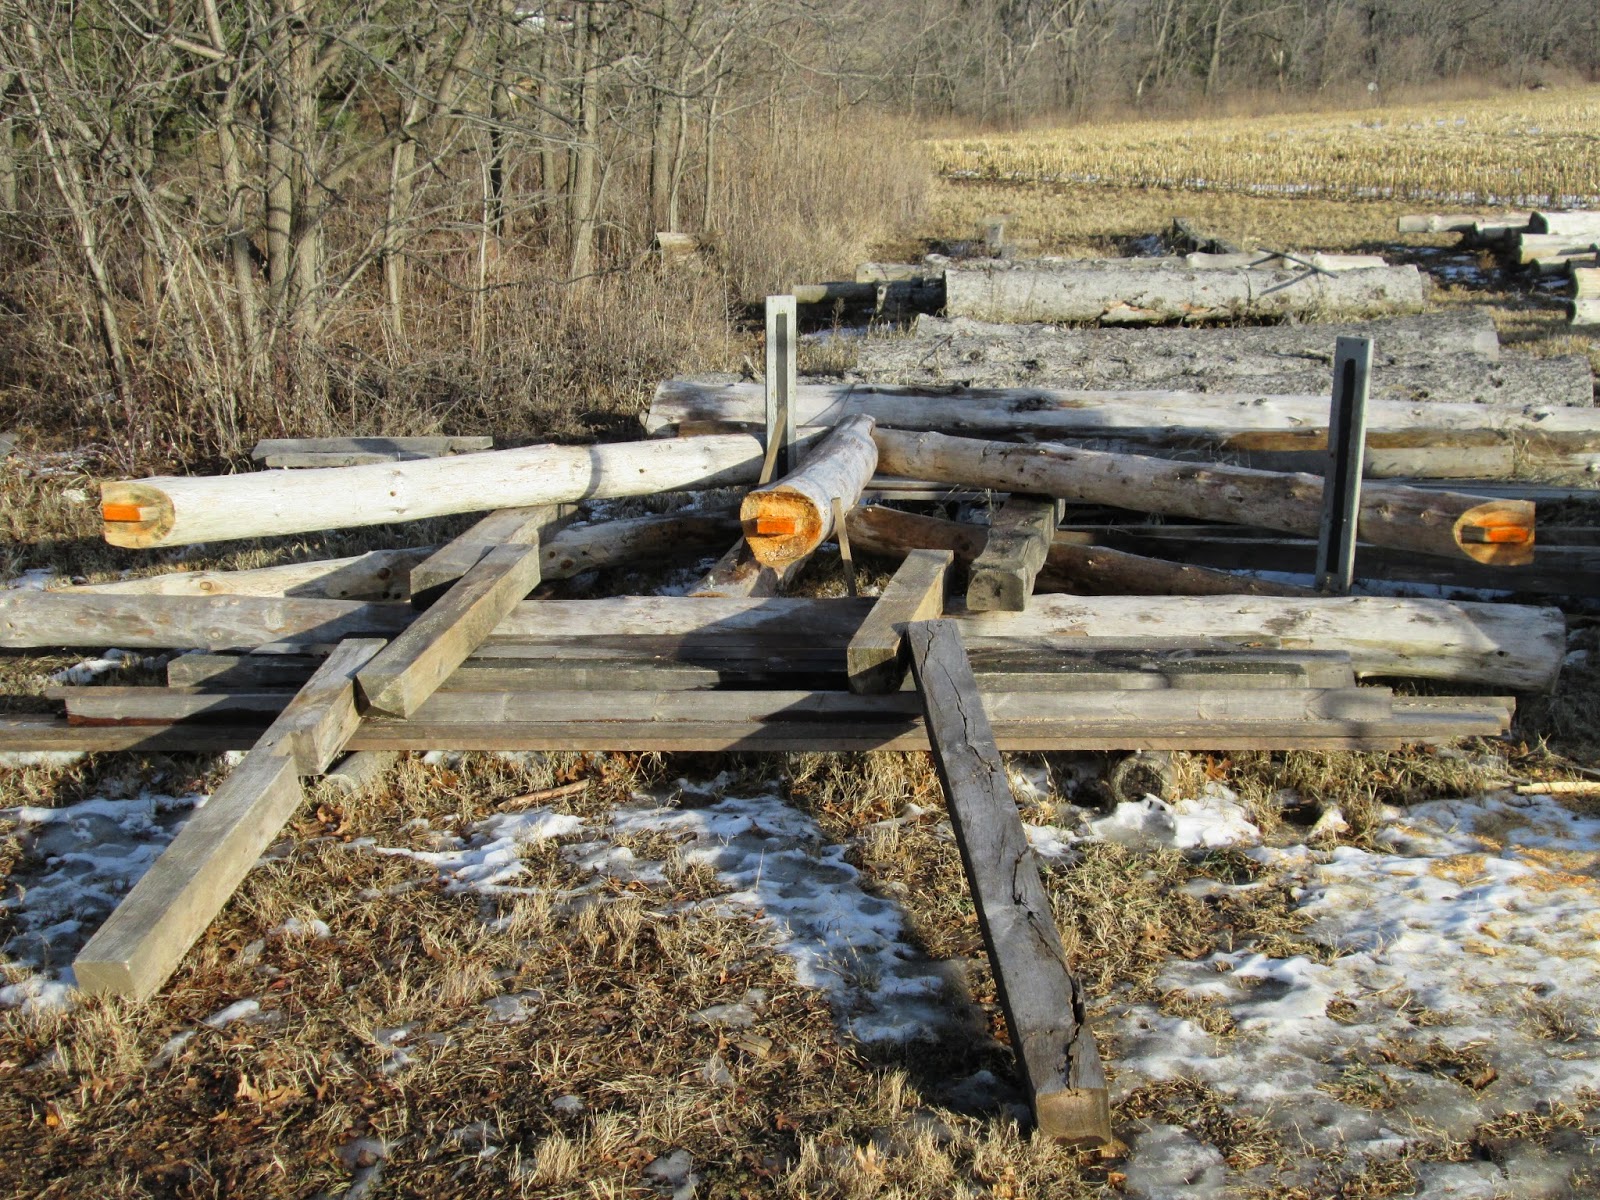
With the bottom chord of the middle truss removed I decided to paint the tenon ends of this truss orange so they stay as a set. The front truss will be painted red and the back truss will be brown. I also placed 2" GRK screws in the side of each truss member facing the rear of the cabin. More insurance to eliminate the chances of rotating or flipping any of the parts during the process of putting the truss together on the top of the cabin walls.
Here is the bottom chord notched and in place. Three 2x6 planks will be placed on top of the walls on this end of the cabin. Then I'll position the "crane" so that I can lift the rafter parts up and reassemble it. Then the assembled middle rafter will be rolled up to vertical and braced in place.
Then use the crane again to assemble and lift the back truss and gable end logs. Tie the two trusses together and move to work on cutting, fitting and raising the front truss. Having some serious fun now!


No comments:
Post a Comment