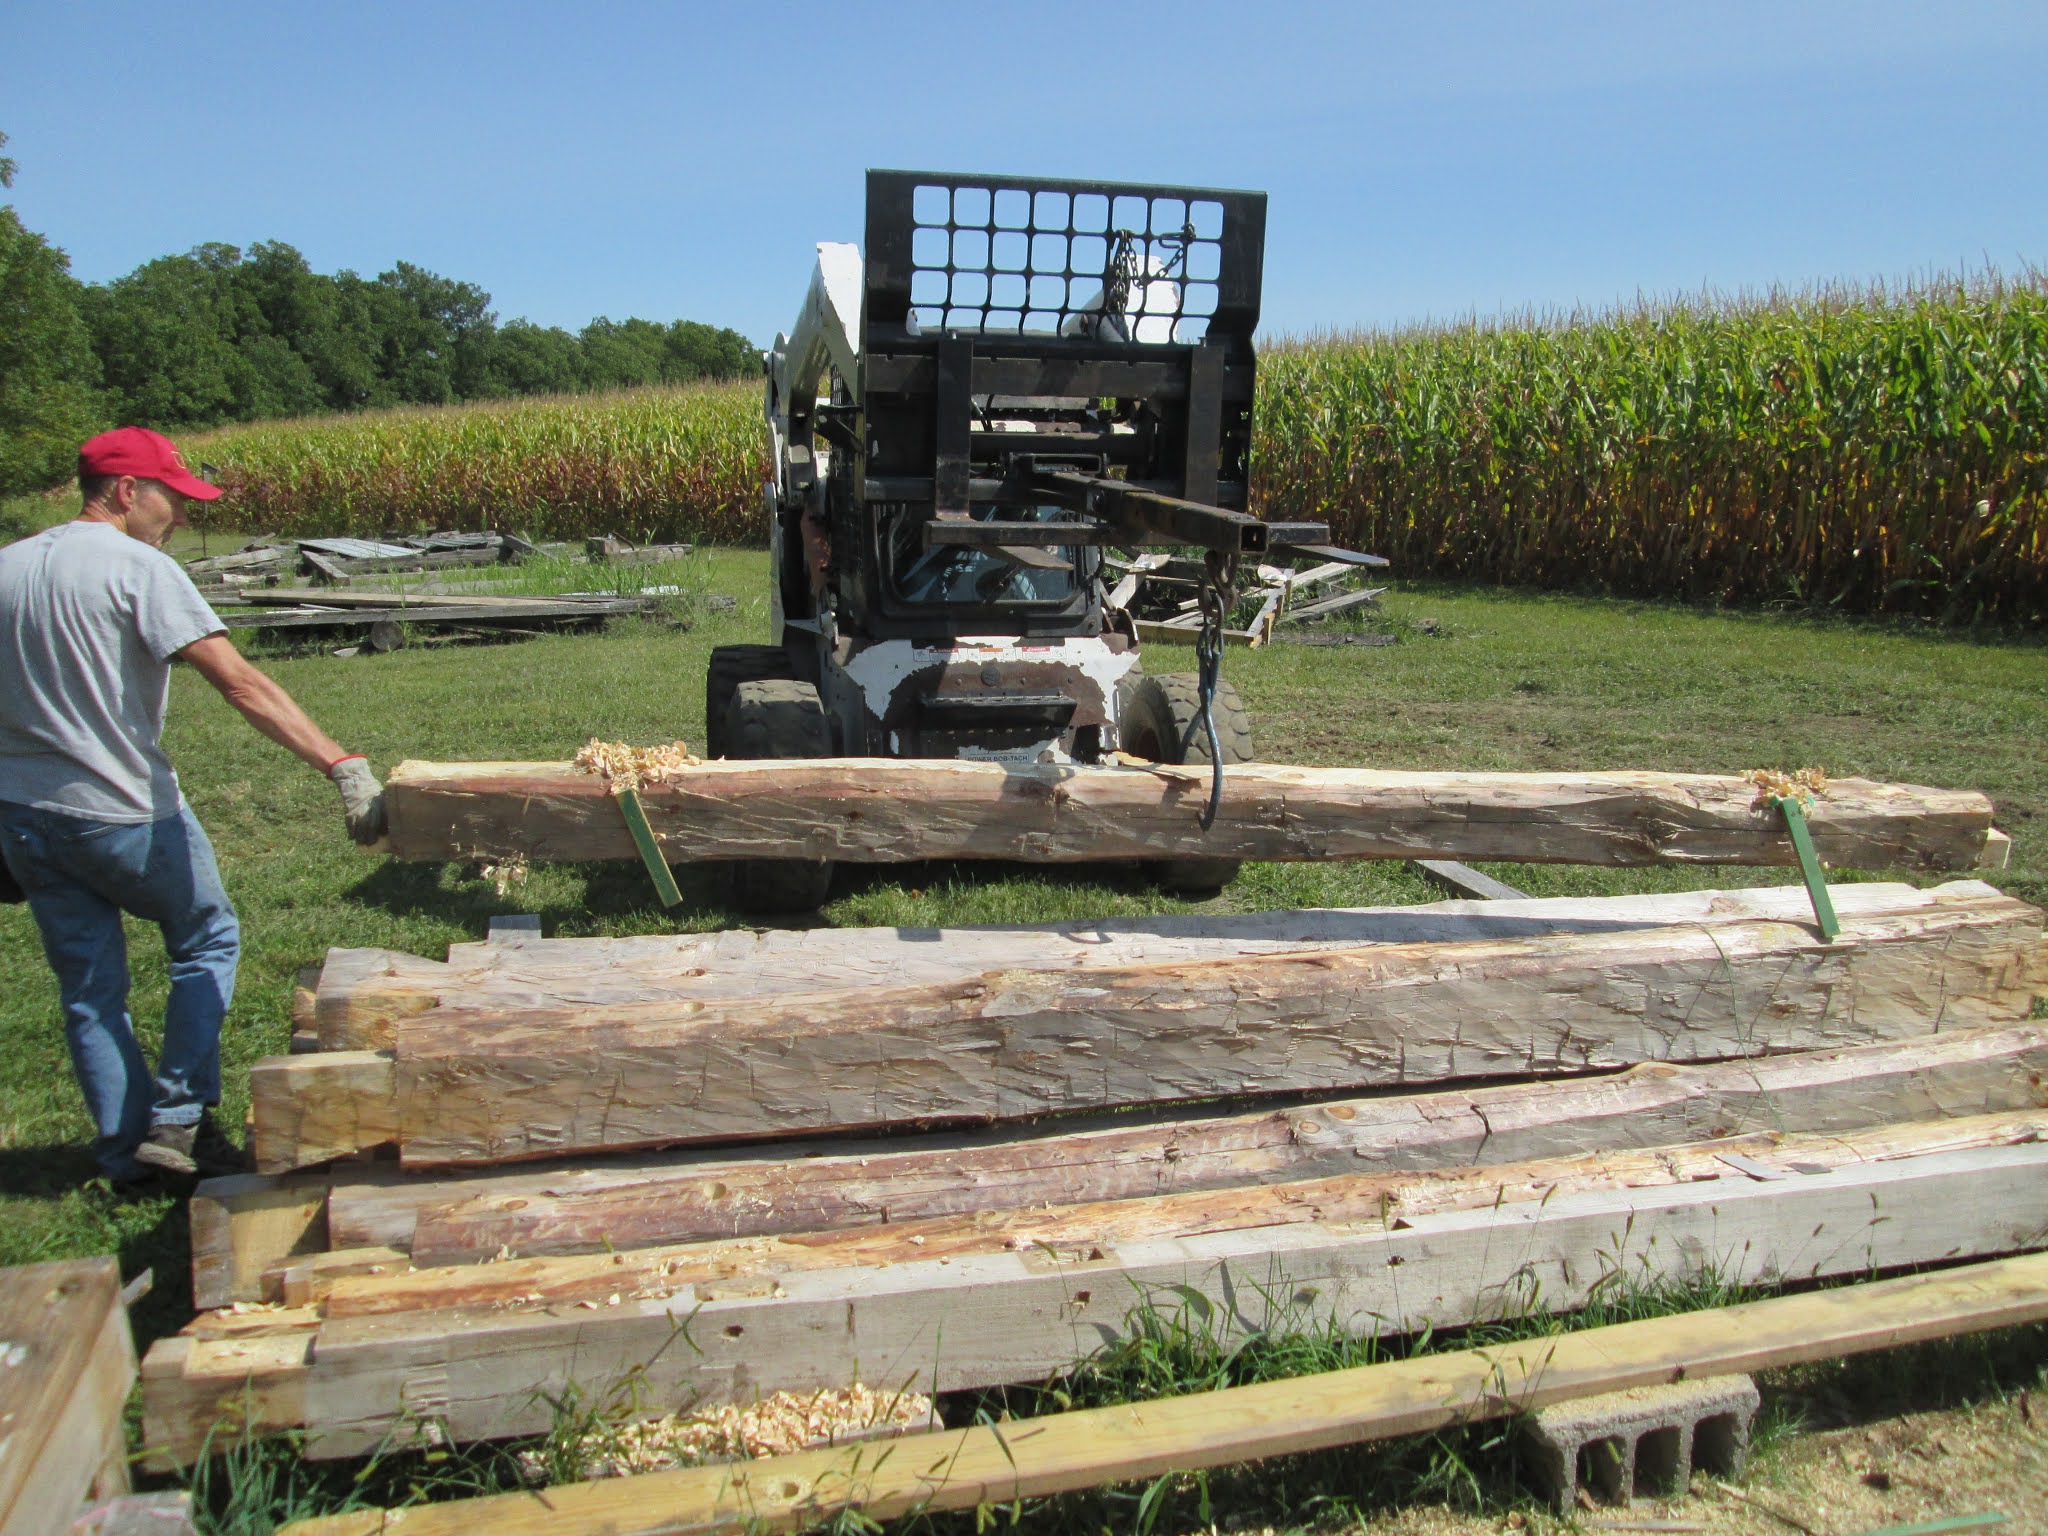
In 2012 I salvaged oak, hand hewn, log floor joists, out of an old barn and decided to build my second cabin. To do the lifting I designed and built a pivoting yard arm lifting crane. All the parts were made from 6x6 timbers out of the barn. Getting the main beam up and onto the center pin (this allowed for 360 degree rotation) was a job but I managed using a gin pole lashed to the vertical. Also significant bracing to the cabin floor framing was required (this supported the main center support). This caused a lot of problems when trying to move around to do any work that required being on the inside. The two 2 x 8's in the front were in compression and the back 1/3 of the main beam was tied down with a ratchet come a long in tension (this kept the main beam level). I mounted the hay loft trolley and track to the bottom of the main beam (this allowed the log to be moved inward and outward for placement on the wall). A chain fall was attached to the trolly and used to lift up a log.

Now one of the key parts of this system was the circular block that was made for turning the square 6x6 into a round form. The cross pin in the front supports arms had to ride here. It carried the load and allowed the main beam and support arms to rotate 360 degrees. Rotation was done when there was no load on.
A generous application of grease kept the system moving smoothly. I was pretty happy with the way this turned out and worked very well. Although a lot of extra work to construct but a good learning experience. When the cabin was done I disassembled the crane and stored the parts.
In 2015 I ran onto another set of logs and the idea to build another cabin this time with exposed log roof trusses got me thinking. I would need another crane and thought about using the old one but did like the idea of all the bracing inside the cabin area. So I decided to change things up a bit. I had scaffolding with a nice set of wheels. The ground around the cabin was flat and level for rolling.
I would use two sections and attach the main beam to the scaffolding. Using the chain fall again to do the lifting. One problem was that as the load was lifted the leverage tipped everything forward. This problem was solved by adding cast iron counter weights to the back end of the scaffolding. I added a board to the bottom rung so I could slide the weights farther back away from the fulcrum point. This system worked very well. It was simple to move around and position. It was used to lift all the wall logs and then to raise the log roof trusses.

Fast forward 8 years and a couple of cabins and here we are with the third generation of log lifting rigs. They all were designed to lift 300 + logs and allow just one person to build a log cabin. Although having a helper makes things go smoother. The Sky Hook so far has been the best. It was only blind luck that the two trees used to anchor the cable lined up with the center of the cabin. Here a helper holds the tag line and keeps the timber from spinning and I pull it toward the cabin wall.

The ridge beam will be lifted next and getting all the tenons to line up with their mortises will require some patience and maneuvering. Everything has been staged and planned out so this should go smoothly.
By hooking the ridge beam with a chain instead of the slings I shortened up the distance between the hoist and the beam. This allowed it to be lifted high enough to land on the support post tenons. Not having to deal with the weight of the beam made the work of lining up the mortises in the bottom of the beam pretty simple. All joints were then pegged together with 7/8" diameter Oak pegs.
Staging and lifting are key parts of the process of reassembling the cabin. The rafters for the back side of the roof were lifted and placed on temporary supports before the ridge and top three front wall logs placed. The front rafters were brought up to the the front of the cabin and leaned up against the wall as shown in the picture. Because the Sky Hook wire runs down the center of the cabin movements left and right were not possible. The front rafters would be a two man lift job. One at the top to place it on the ridge and one at the bottom to lift.

This was a tricky balance as you can see in the picture below. The back rafter was no problem, just lift up the top end and place it on the ridge beam. The front rafter was different. Because of the location of the center point of this rafter on the top plate the bottom end needed to be held up until the top half lap joint could be pegged together. Once that was done the rafter pair was secure over the ridge beam. The point where each rafter crossed the top wall plate log a 10" timber frame screw was drilled in to lock the rafter in place in it's notch on the wall.
Here is another look at the roof rafter system. The rake end boards for the roof gables still need to be attached. Then 2x8 tongue pine boards will be put on across the rafters to form the cabin ceiling (the beams will remain exposed inside the finished cabin). Two inch styrofoam will be placed on top of the 2x8 pine and then a steel roof added to finish off the roof.


The front beam was put into place using the Sky Hook and it was great to have the beam held up so I could take measurements and drop plumb lines for drilling the holes in the slab at the bottom of these support posts. The posts need to be adjustable in height as the cabin logs dry and shrink. Just like the clearance that is built into the window and door frames, the posts need to provide support and be able to be lowered (shortened). To accomplish this deep holes are drilled into the bottom of each post and 12" long 3/4" ready bolt with two nuts and washers installed. Holes for the bottom of the bolts were drilled into the cement and held the post at the bottom end. The top end was pinned tight. In the picture you can see the space at the bottom of each post, about 3 inches. As the cabin walls shrink the nuts will be adjusted to lower the posts so the roof rafters are not lifted up. Measurements will be taken and recorded on the posts today. Each post will be lowered the exact amount the walls shrink as the logs dry over the next 9 months.
At this phase it is good to take a break and ponder the work that has been done. For projects, for me, I believe there are two kinds of people, the thinkers and the doers. My philosophy is that if I think about something to much you kind of spoil it and probably won't do it. Best to just do it! Enjoy the process and solve any problems (learning opportunities) that come up along the way. And look what you get.
The next phase will be to finish the roof and install the electric service entrance.


