Sunday, June 21, 2020

Using every trick in the book

Let me just say, log cabin building is not for the faint of heart and when it comes to getting 150 pound 6x6 rafters up requires creativity and the use of every trick in the book.


The 6x6 timbers that I had cut a few years ago came in handy and will work nicely as the rafters for Cabin #6. The extension ladder made a nice ramp to pull the 150 pound rafters up and into place.


The birds mouth cuts in the rafters provide a good positive stop for the rafter. The layout for one of these is a bit tricky and requires some thinking. I used a 2x4 and made a full sized pattern. Then used the skill saw to make the cuts.


The requires a corresponding cut to be made in the top plate of the wall. Here you can see how the rafter and plate lock together. Making the installment of big heavy rafters like these easier as there is no chance that they will slip off the top plate while working on the top ends. A long screw will be used to anchor each rafters to the top plate.


The top ends of the rafters sit on the ridge beam. They were half lapped, drilled and will be pinned together. Here you can see the roofs large over hangs. 48" on the back side. 30" on the rake ends and 5 feet for the front porch. This will provide plenty of protection to the bottom logs from rain.


And here you have it.  June 21, 2020 Cabin #6 framed and topped out, ready for the next phase? Site preparation.

Wednesday, June 17, 2020

Brace factory for Ridge beam posts


Going with a 20" base on the 45 degree 4x4 braces was my choice. 18" seemed a bit small and 24 to large. The four on the left are to hold the ridge beam posts up and the two on the right will brace the top of the center post. 16 feet is to long of a span for the ridge and would allow it to sag under the load of the 6x6 rafters, 2x6 roof boards, foam insulation and sheet steel roofing. You can see the two different ways I cut the 2" tenons. I think the style on the left lends itself to cutting on the radial arm saw and getting the 2" tenon thickness when the 4x4's are rough and vary in thickness as much as 1/2".


After cutting the mortises for the post and braces it was time to make a test fit. The gable ends will be further framed in with 2x4's and insulated. Wanting to keep the braces and joinery visible inside I located the braces to allow them to be seen from the inside. Here you can also see the 6x6 beam that is at the edge of the loft. This will support the roof load, transferring that roof load to the cabin walls and not the loft floor joists.


With both ridge support posts in place I put a 2x4 across the tops to help locate the placement of the center post.


After locating the placement of the center post it was time to layout and cut the mortises for the five tenons the ridge beam would be sitting on. The ridge beam has about 1" of camber cut into it.


The middle post was then mounted in place. Grand daughter Ruby was my spotter.  3/4" square pegs were used in the 7/8" drilled peg holes. These work good as just the corners touch (square peg in a round hole trick) and can be removed easily for the dis-assembly and move and then replaced with 7/8" diameter oak pegs.


So with all the posts set in place and braced it was time raise the ridge beam. Notice the front wall has been modified to give it more bracing. Just stacking and screwing the top three 6x6's was not stable enough.


At 300 pounds lifting the ridge beam in place required some help from the Osterday Cabin crew. Five minutes and the job was done. Good 6 foot plus head room in the loft and a Perfect fit!


So on to the next part, cutting and fitting the ten 6x6 rafters.

Sunday, June 7, 2020

Scarf joints, ugh!


As I begin this process I find myself asking why? The best answer I can give anyone is that I do not have any 6x6 timbers that are 22' long. I have made several of these scarf joints before and with a few variations and every time it become a new learning experience. So here goes blog followers.

Setting up a work surface that is level and sturdy is the first order of business. Because of my lack of confidence and that I do not have any extra 6x6's to waste I chose to put to 18 footers together like this. My thinking was that if I goof it up I will still have enough length to try again. After all I only need 22'


So the scarf is going to look like this. The ends are squinted so that when the wedge is driven in the middle the joint is locked together. I could go through all the layout but just let me tell you I spent the better part of the morning laying it out, sanding it off and trying it again until I got it.


After several fits and starts I had the first half cut and was pretty happy with the results. If you notice the cut on the left side requires a plunge cut and because the timber is 6" thick has to be made from both sides with the 7- 1/4 skill saw. Then you have to connect the two to remove the piece. No small task when working with rough sawn timber that is not square. Think about that.


After watching a video on this they said just to trace the profile of the first one on to the second piece. Easy Peasy, right? Well wheeling around two 18' 6x6"s weighing 150 pounds each is a hand full. But I got it. Even cut it so I had about a 1 - 1/2" of camber into the joint.


And there we have it. Getting the ends and surfaces even and tight like this is achieved by a process called "sawing up the kerf" and as you can see really does the job. The folding wedge in the middle is cut so that the outside surfaces are parallel when driven in. This is much better that a standard tapered single wedge. So one down and two to go. This was going to be easier than I thought. But you know what they say, "At the end of a perfect day, look out the day is not over yet!"


So here we go on to beam number two. Layed down one of the first pieces and traced the cut lines. Carefully marking with an "X" the material that was to be removed and a "V" to show which side of the line to make the saw kerf. Don't want to get confused and...


SECOND CUT. Good grief. The one in the middle. I had a 50/50 chance of getting this right and blew it. All I'll say is that I had a brief moment of prayer and moved on after I cut this piece off and started over. Did I mention this was going to be a "new" learning experience. Nothing new about making mistakes like this for me. Just having a hard time blaming it on one of the Big 3 - Poor Material - Bad Equipment or Someone Else and since I was by myself that option was out.

Two down one to go.


Wednesday, June 3, 2020

Cabin #6 Phase 1 complete

PHASE 1 - Log Work

The log work for the cabin walls is complete! Eleven rounds of logs for an 8 foot cabin ceiling height. Window and door openings rough framed. Loft floor and opening for stairs roughed in.


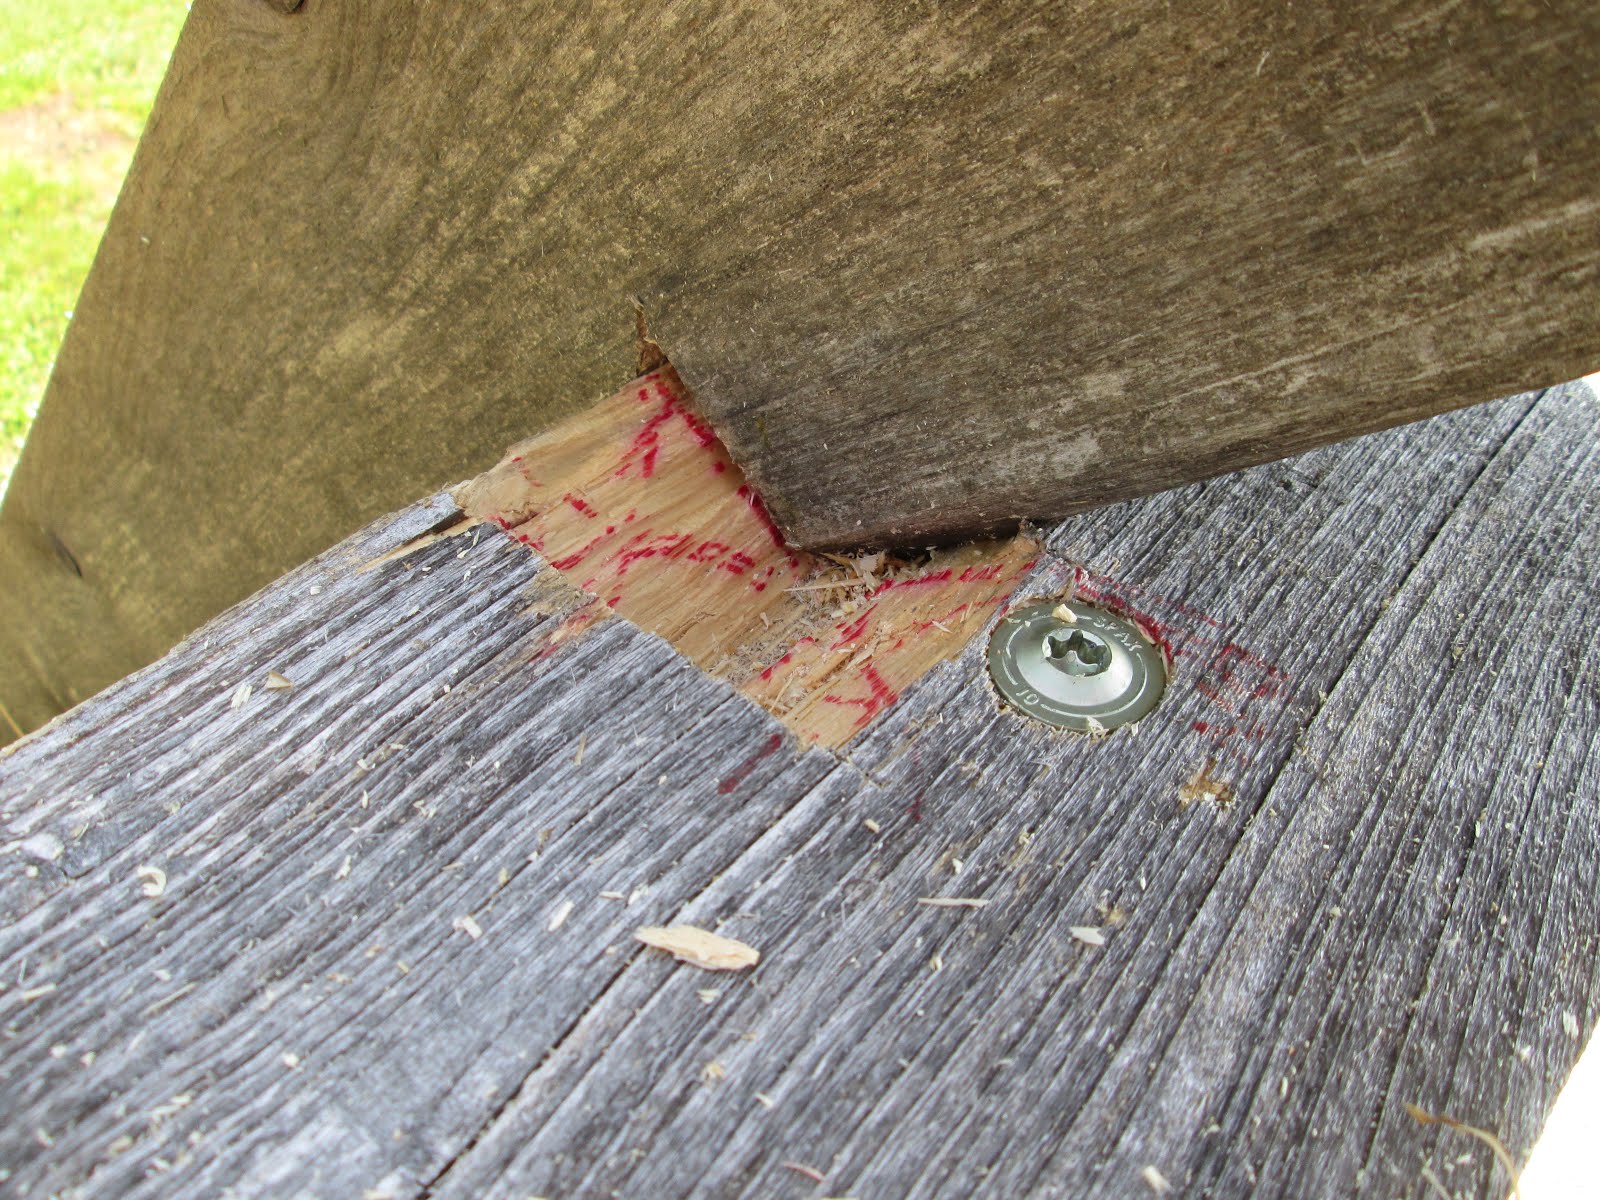
A temporary floor has been put in place to make a work surface for the next phase.

Just how many phases are there to building this hand hewed log cabin you ask? Lets see...

Phase 1 - The log work, building the walls. - Getting the logs, racking, pealing, hewing, notching.

Phase 2 - The roof framing.  - Top plates, ridge beam, rafters and porch framing.

Phase 3 - Cabin site work. - Driveway, leveling, gravel, concrete slab, electric and gas service lines.

Phase 4 - Move Cabin to site. - Dis-assembly, transport, finish coatings, re-assemble, stairs, floor and
                loft railing.
Phase 5 - Roof - finish roof boards, install, insulation and roof tin.

Phase 6 - Electrical and gas lines inside cabin. - Wall and ceiling outlets.

Phase 7 - Trim out cabin. - Install door, windows, floor insulation and finish floor. Gas fireplace.

Phase 8 - Chink logs. - Inside and outside after one year of log drying time.

So on and off for the next year I will be posting my work and progress on Phases 2 thru 8. Let's get started.

PHASE 2 - The Roof Framing


Building with "green" timber requires some consideration for the fact that wood shrinks as it dries out. Wood has a grain and the wood shrinks along the width and thickness. For round logs we look at the diameter. For example, in the green (wet) state the log may be 12" in diameter. After the log has air dried (3 to 6 months) it will shrink. If the new dry diameter is now  11 and 3/4" that's 1/4" per foot shrinkage. You can calculate that an 8 foot tall stack of "green" cabin wall logs is going to shrink down 2" when they are dry. It must be noted that wood does not shrink lengthwise (an 8 foot long log will forever be 8 foot long wet or dry).  Knowing all this, allowances must be made for this shrinkage or all kinds of nasty problems will visit your work (window and door frames with vertical pieces) in the future. Crushed windows and doors that will not open!

The roof framing (in blue) for this cabin will be sitting on a 10 foot tall stack of green logs (in yellow) that will be shrinking down to somewhere around 9' - 9" when dry in a year or so. The roof frame is being made from dry 6x6 timbers so there will be little or no shrinkage. But what the roof frame sits on WILL SHRINK! Now this would not be a problem if there was no porch because the tail end of the roof rafters (in red) would just end up 3" closer to the ground when the cabin logs dried. However there will be a porch (in orange) on Cabin #6 and it will have to be adjustable to allow for the 3" movement of the roof rafter tails downward. One solution might be to wait and build the porch after the cabin has dried. Something to consider, but either way a method of adjustment will be needed. Either to lower or raise the porch framing to meet the tail ends (in red) of the roof rafters. I am going to build the porch now and adjust it downward as the cabin log wall shrink.

The sketch above shows the framing design I have chosen. Ten  6x6 rafters (four shown in red 12' - 6" long in the front and 14' - 3" long in the back) spaced 48" O.C. They will sit on a 16' long 6x6 top plate in front over the door and 20' - 8" long 6x6 top plate on the back side. The back top plate is longer to provide a 30" overhang on the rake ends of the cabin. This will help protect the bottom logs from the weather.

The height adjustable porch will also be built from dried 6 x 6's. It will be fastened to the cabin wall with screws using a slotted 2 x 6. The screws will go through the slots into the cabin logs. As the cabin wall logs shrink the slots will allow the screws to slide down. The front posts holding up the 6 x  6 porch beam will have adjuster screws at the bottoms. As the wall shrinks the screws will be adjusted to lower the top beam.  

One of my concerns is the span I am making with the 6 x 6 rafters on the back side (about 11 feet from ridge to top plate) expecting them to support the roof load. HEY, it just dawned on me that the span will not be 16 feet as I was thinking. This is good news. The span of the ridge will be another issue. So I will get some test data to work with. Here goes...


So I took an 18 foot long 6 x 6 and spaced it at 16 feet with 2 x 4's over another 6 x 6. Then I marked the center at 8 feet. I stretched a line from end to end.


I placed a screw at the 16 foot midpoint on the bottom side of the string.


Then I loaded'er up. At 700 pounds the gap was 1". At 878 pounds as shown here the gap was 1 and 1/2 ". If I get some time on my hands I could set this up and test for a span of just 11 feet.