Let the drilling begin! Imagine the time and effort involved when the bridge builders of years ago did the drilling like this. Makes my arms tired just thinking about it.
Can't wait for the high school helpers to get here and give this a try!d
Which one do you think they will want to use?
These are some mighty fine looking holes. Even with the Milwaukee Hole Hawg it took several hours to layout and drill the 108 - 1.5" diameter holes. If placed end to end the hole would be over 75 long!
Built a little "hole locator". Worked well on the Web but had to do some adjusting when it came to the 3 holes in the chords. Had to make sure that there was a minimum of 2" of wood from each of the 3 holes and the edges of each of the 3 pieces. Wow. The success of this will become known only when the pieces are taken apart!
Also, each and every hole needed to be backed up with a scrap piece to prevent the drill from "blowing out" the hole as it came through the material. This was tricky but the falsework helped and with a few wedges the job was done. And here you have it. First truss done and ready to be dis-assembled and taken to South Wayne where it will be finished.
Puzzler - How will all the pieces be kept in order so that no piece is flipped, flopped or flip-flopped?
Tech Vocab - Metal Stamps, Playing Cards, Assembly Schematic, Layers,

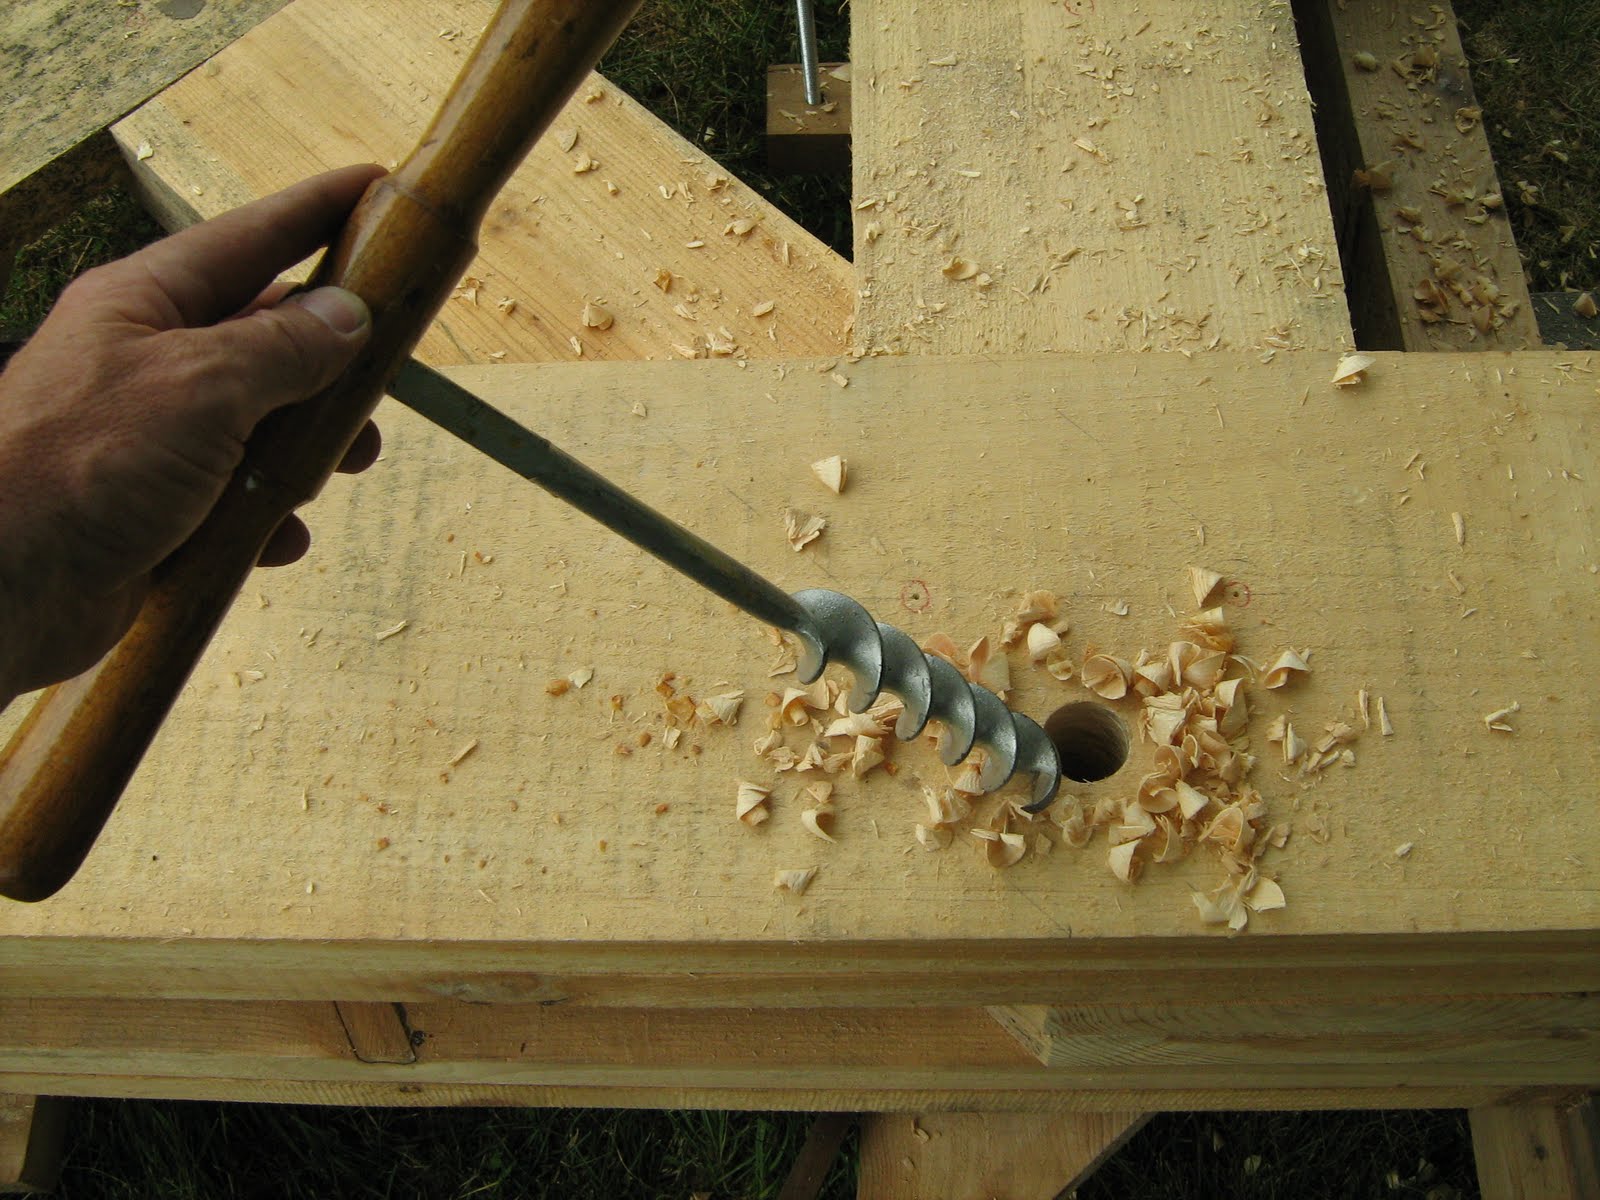


Did you actually finish the hole you started by hand? If so, how long did it take?
ReplyDeleteDid not finish the hole with the hand auger. Will need to hone it so that it cuts the wood fiber cleanly. Will give it a try for sure on the second truss. Maybe Alex and I will have a contest! Maybe a race with the Hog Hawg!!
ReplyDeleteHa, I'd like to see a race. I think my money is on the Hole Hawg!
ReplyDelete