Friday, September 18, 2020

Rigging the Sky Hook

These pictures are going to be in the reverse order I wanted them to be in but the Blogspot people have changed the program as to getting pictures up loaded and this will have to do until I learn how to move them around.

The true test a 300 pounder is lifted off the trailer and heading to a landing on the back wall of Cabin #6.Coming off the trailer and ready to make the move to the cabin


Not wanting to find out the hard way if my calculations and the system was worth of the task I decided to test it out with one of the smaller logs first. Chicken that I am.

If you have ever tried to stretch out a line you know that pulling it starts to get pretty tuff as the line starts to straighten out. Especially with a 50 pound hoist on the line. A 5/16 inch cable with a 1900 pound capacity was used. Two ton come-a-longs were used to pull it. As they only had a 10 foot cable one was used to start the pull and a second one was used to finish the pull. 


To allow the 1300 pound hoist be able to move along the cable from the trailer to the cabin wall I installed a set of 1 1/2" cast iron pulleys in the hangers. It was tight but with a washer spacer below the brackets the cable cleared the top of the housing. I also had to extend the wiring to the remote control switch as the hoist would over 12 feet. This was tricky as it needs four wires to make the circuit for up and down control.

Here is the drawing of the layout for the Sky Hook
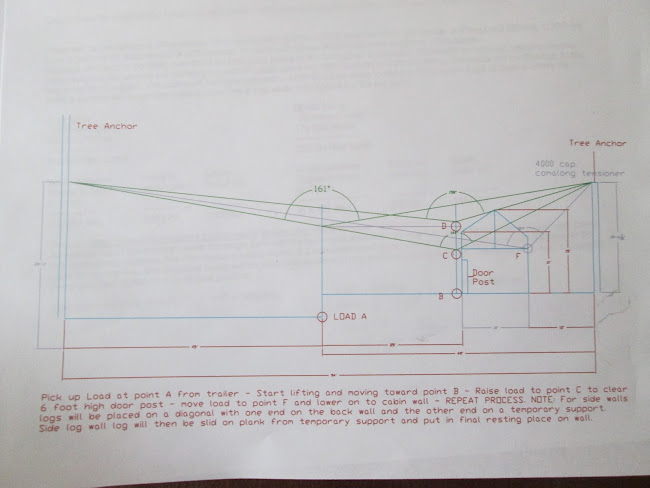
Here are the details on the calculations and the web site I used to determine the forces at play.

In closing all I can say is that this experience allowed me to learn a lot about rigging rope for a system like this and opened my eyes to the engineering that goes into lifting loads with cranes and such. There is plenty of information on the web about this if you want to learn. Finally,  this experience answers the question I asked every day in some the the more difficult classes I had in high school and college, "When am I ever going to use this."


Sunday, September 6, 2020

Before and After - Cabin #6

 Nice weather. Today would be a big day.

BEFORE - 9 am Sept. 5, 2020
So how do we get from here to...

AFTER - 2 pm Sept. 5, 2020


The process begins with the marking of the logs. As each half-dovetail joint is unique they must be put back together exactly with their mate. To accomplish this there are many ways but I prefer using a deck of playing cards.

The deck is sorted into the four different suits. One suit is assigned to each corner of the cabin. Each card in a suit is cut in half and stapled to it's mate for each round of logs. Round one here is the Ace of Spades. Round two is the 2 of Spades and so on up the wall of logs on each corner a different suit. Pretty simple as long as the cards don't get scraped off in the process of moving them to the site.

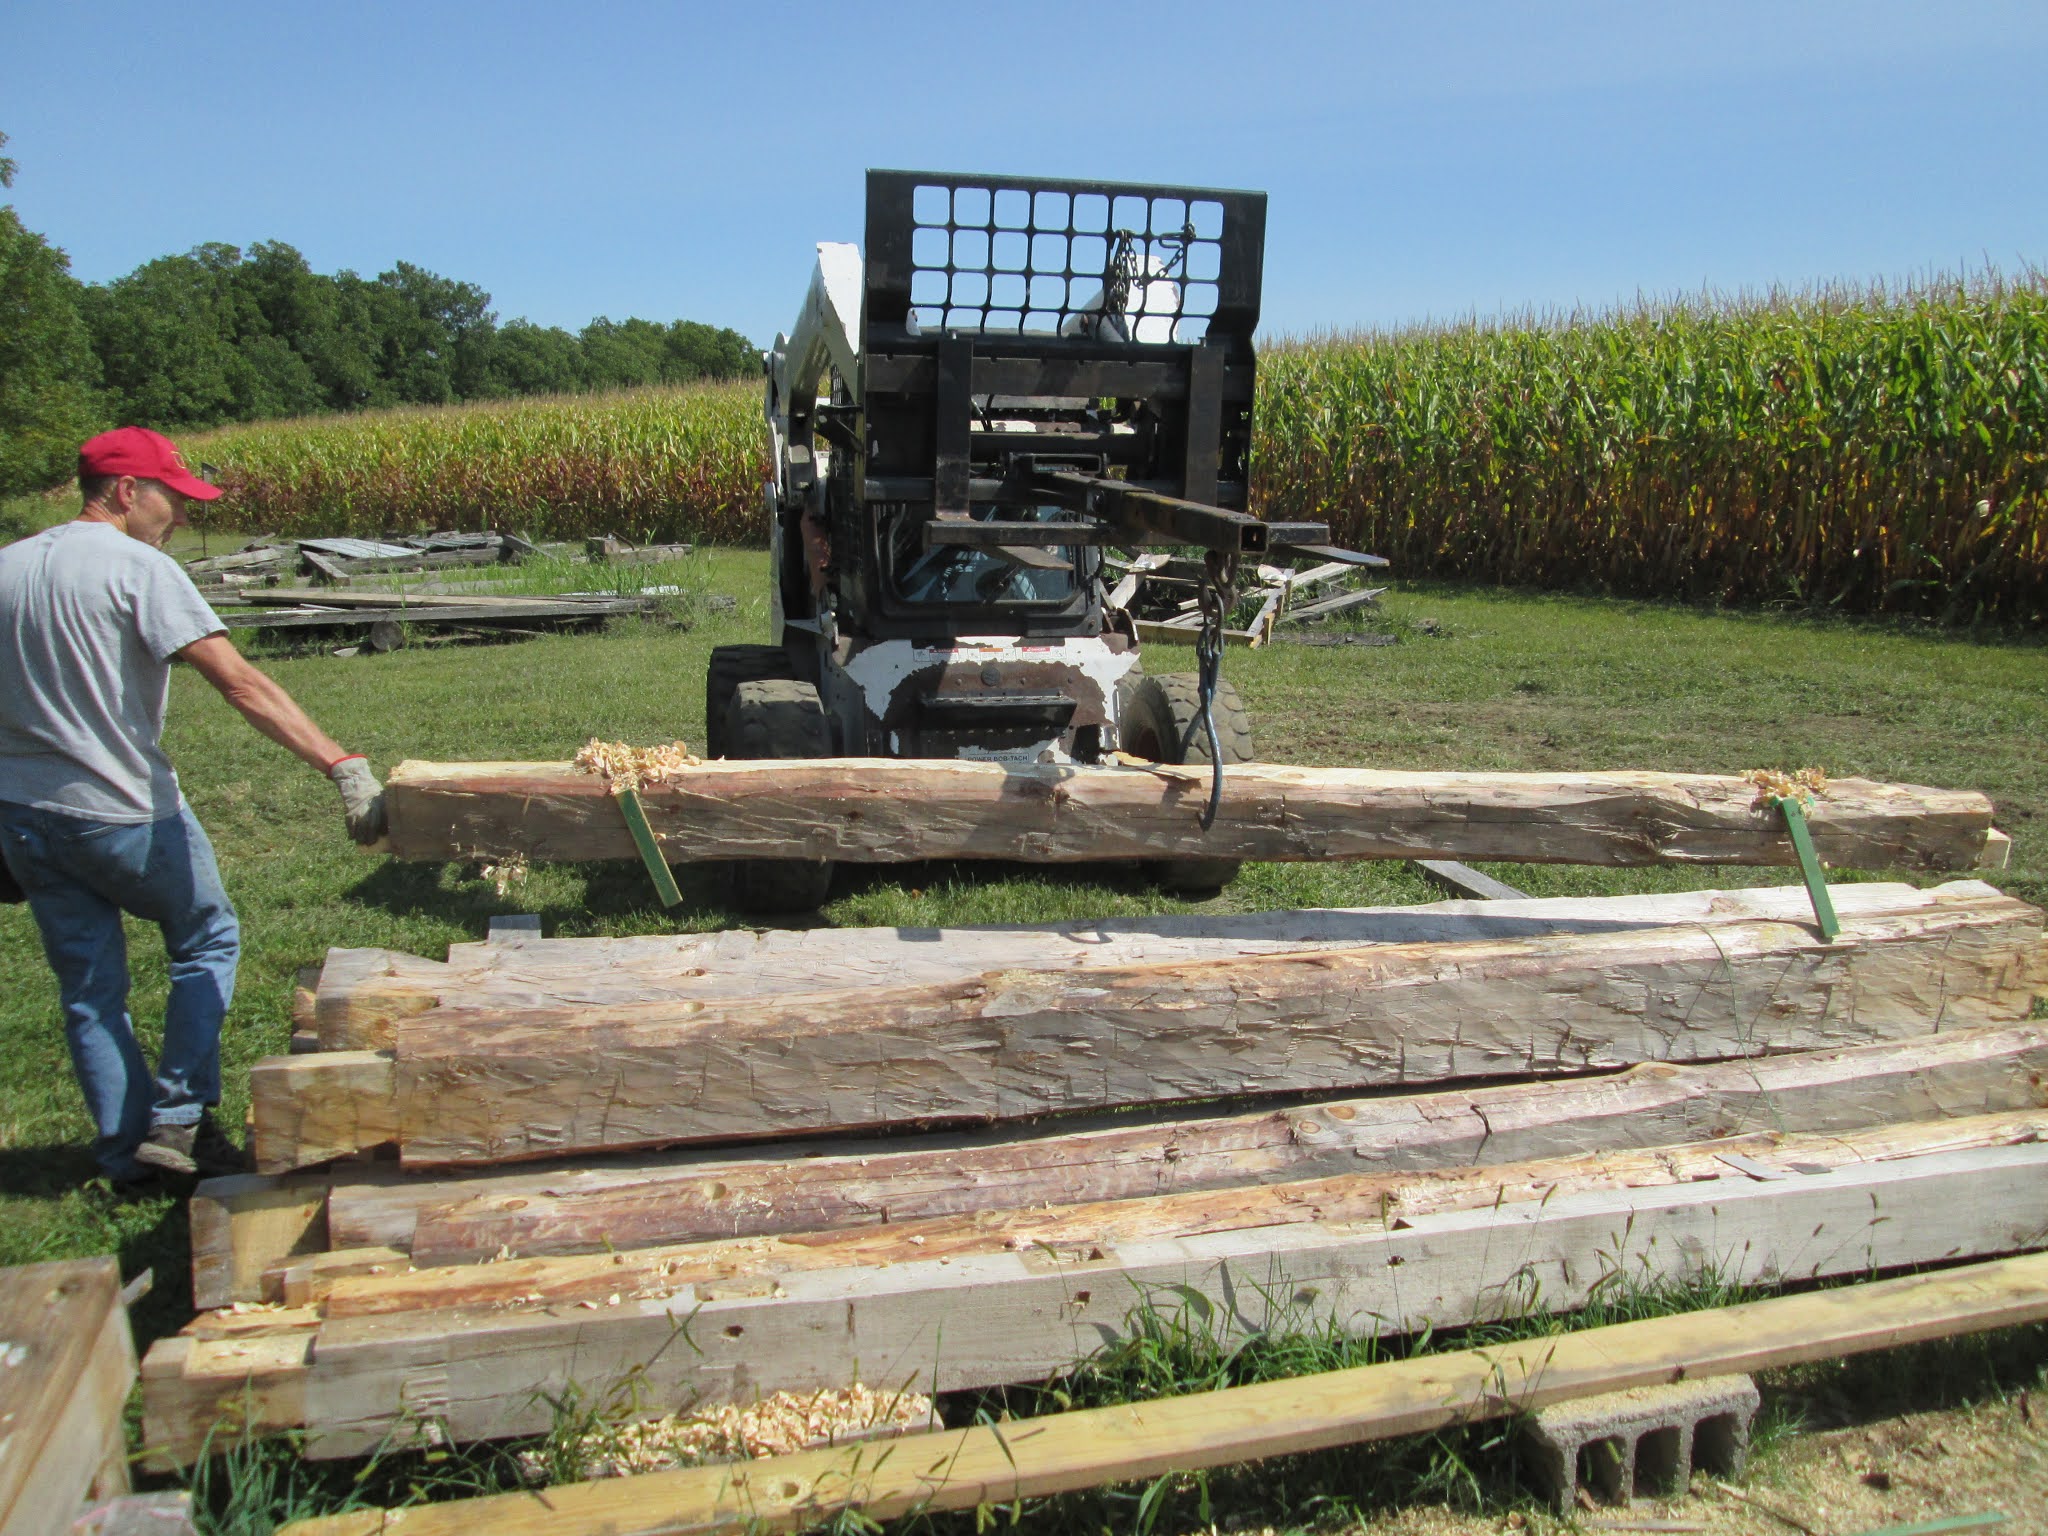
With roof framing removed and stored to the side out of the way it was time to begin taking down the walls round by round. Each log stored on "sleepers" parallel to it's wall to keep them off the ground.

A Bobcat and boom rigged with a set of log tongs attached made the job of lifting and removing the logs pretty simple. What was not simple (and not shown) was the drilling of 1 -1/2" diameter holes down through the logs as they were removed to provide a pathway for the electric wiring to be run. This needed to be done as the drill bit was only 18" long. So one log at a time was drilled until the bottom log was reached. This was done in several places to conform to the wiring schematic I had earlier talked about in planning the placement of outlets and switches in the finished cabin.

So 5 hours later the deed is done. A "cabin kit" ready to be loaded one round at a time and transported to the site on the other side of the woods and assembled on the slab. Easy peazy, right? Stay tuned future cabin builders.