Nice weather. Today would be a big day.

BEFORE - 9 am Sept. 5, 2020
So how do we get from here to...

AFTER - 2 pm Sept. 5, 2020

The process begins with the marking of the logs. As each half-dovetail joint is unique they must be put back together exactly with their mate. To accomplish this there are many ways but I prefer using a deck of playing cards.

The deck is sorted into the four different suits. One suit is assigned to each corner of the cabin. Each card in a suit is cut in half and stapled to it's mate for each round of logs. Round one here is the Ace of Spades. Round two is the 2 of Spades and so on up the wall of logs on each corner a different suit. Pretty simple as long as the cards don't get scraped off in the process of moving them to the site.

With roof framing removed and stored to the side out of the way it was time to begin taking down the walls round by round. Each log stored on "sleepers" parallel to it's wall to keep them off the ground.
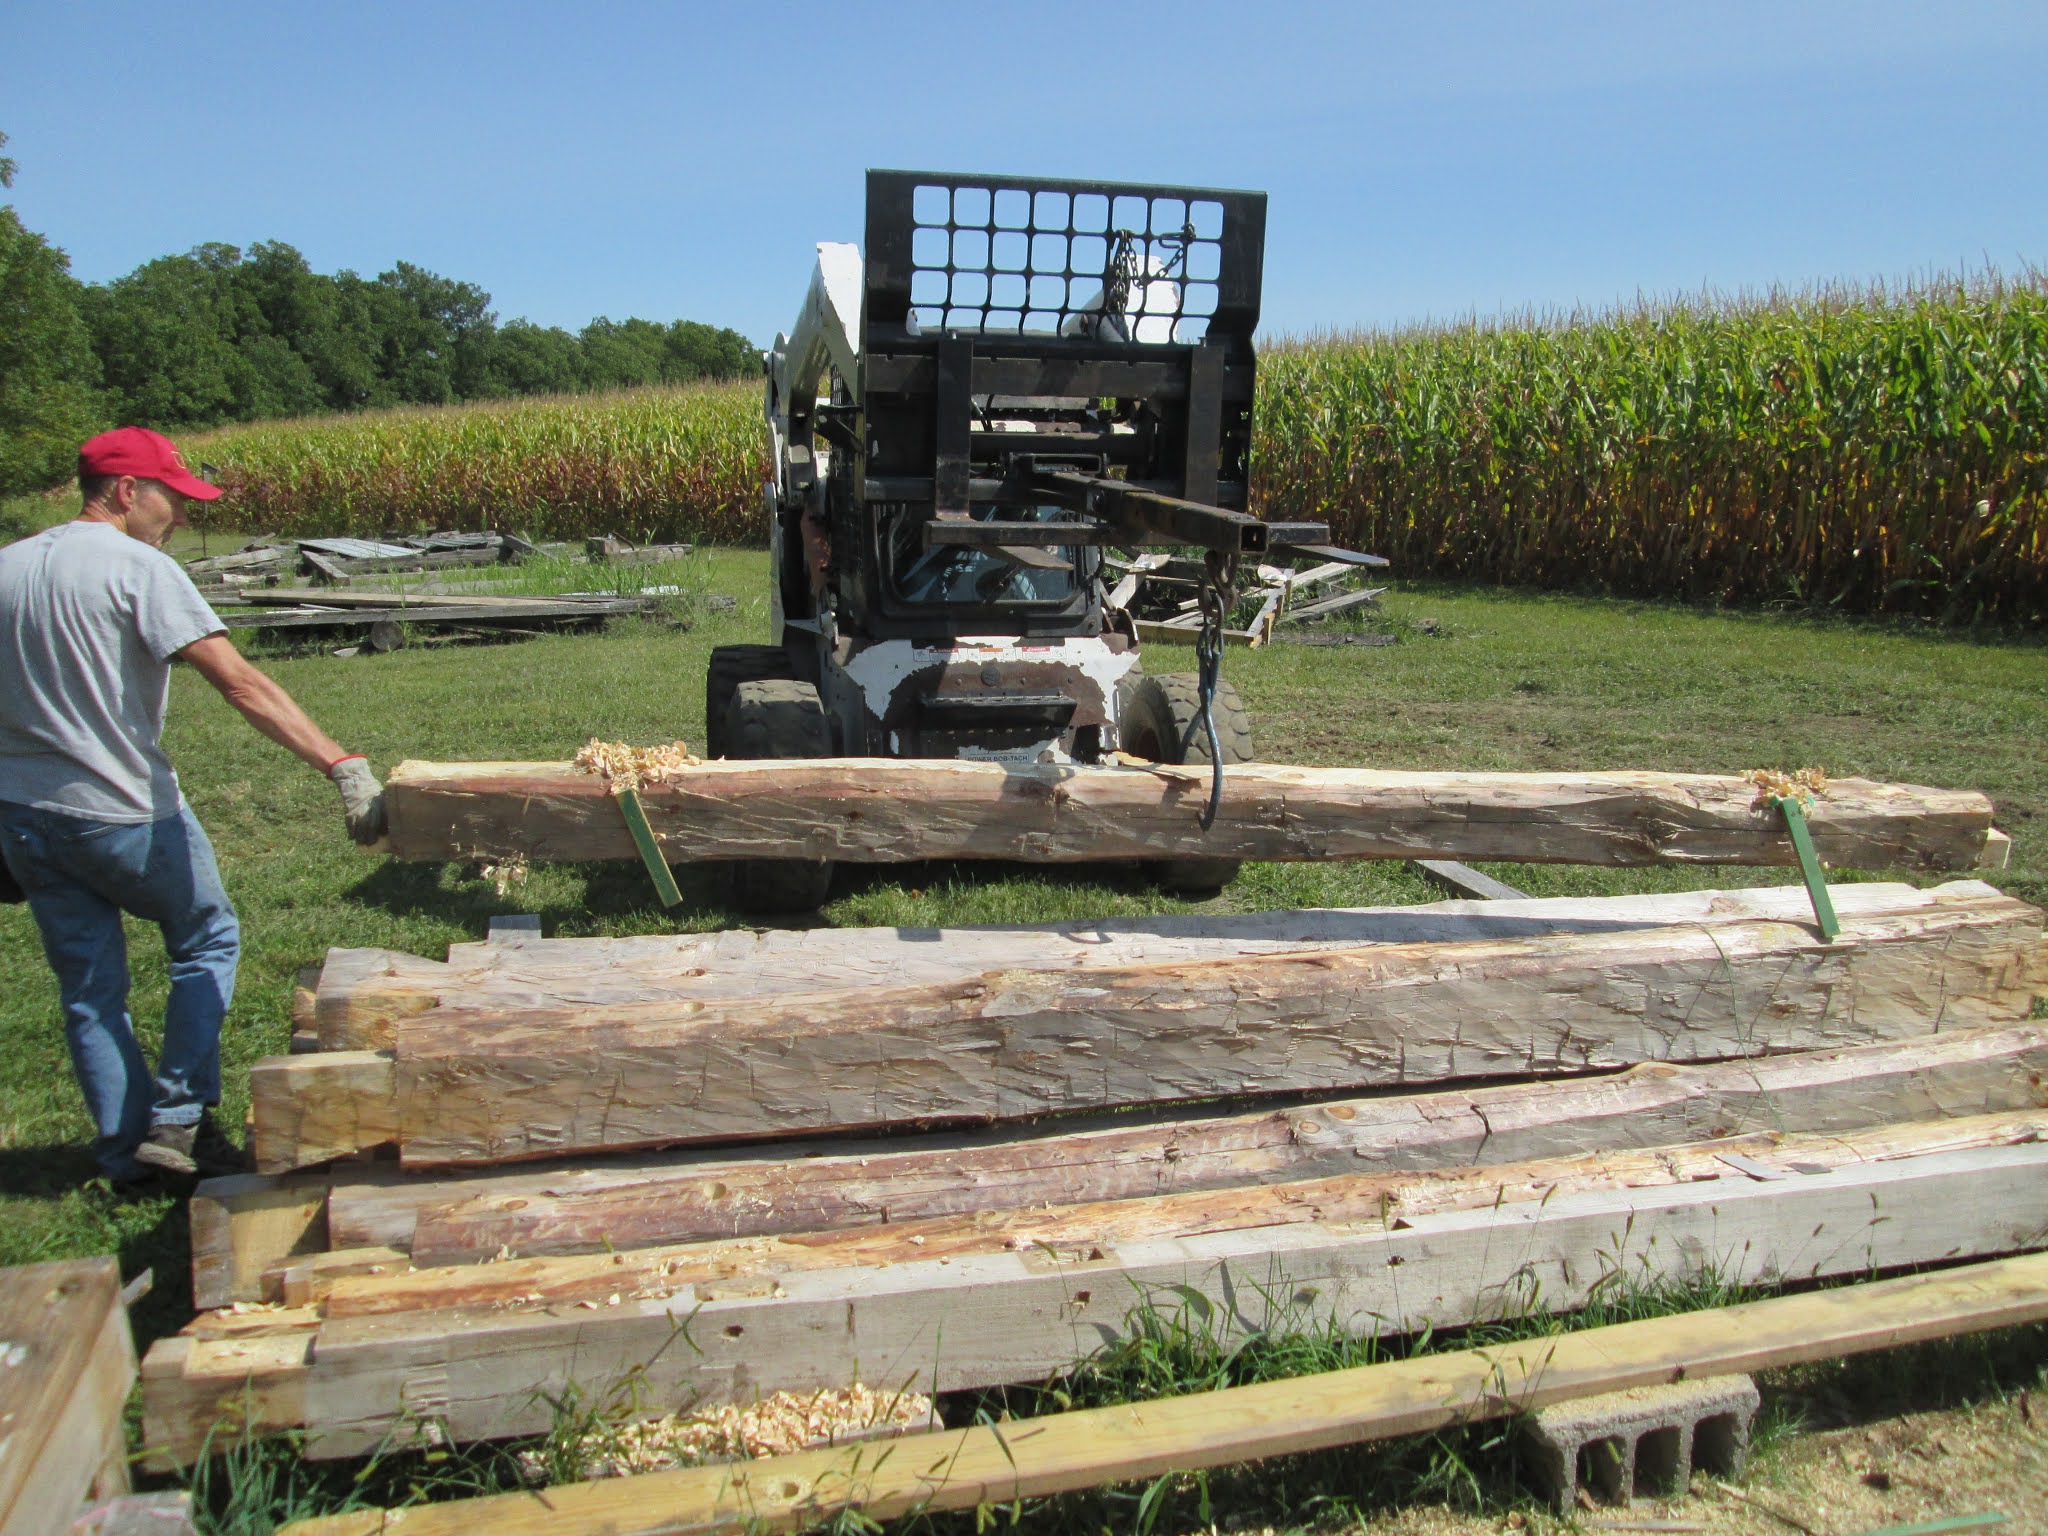
A Bobcat and boom rigged with a set of log tongs attached made the job of lifting and removing the logs pretty simple. What was not simple (and not shown) was the drilling of 1 -1/2" diameter holes down through the logs as they were removed to provide a pathway for the electric wiring to be run. This needed to be done as the drill bit was only 18" long. So one log at a time was drilled until the bottom log was reached. This was done in several places to conform to the wiring schematic I had earlier talked about in planning the placement of outlets and switches in the finished cabin.

No comments:
Post a Comment