Saturday, June 27, 2015

New project - Carving Repair

In 1995 while teaching at Scales Mound HS in Scales Mound, IL  a tree in the front of the school died and I decided to carve the school mascot out of it on the stump. The fighting Hornet was a big hit!

Ten years later, 2005 after I had left Scales Mound I got a call from the school janitor saying that the foot and base were rotting and could I repair it? I sawed off the body and rotting foot. Dug in and "planted" a 6 foot log that I had in a new hole. Then mounted the body to it and carved a new leg, foot and books. The results were very good.

Another 10 years passed and this June Jim Glasker, the janitor, called and said the Hornet was in trouble again. This time the base log was rotting and would I look at it? When I showed up the Hornet was down and in two pieces as shown in the top picture.


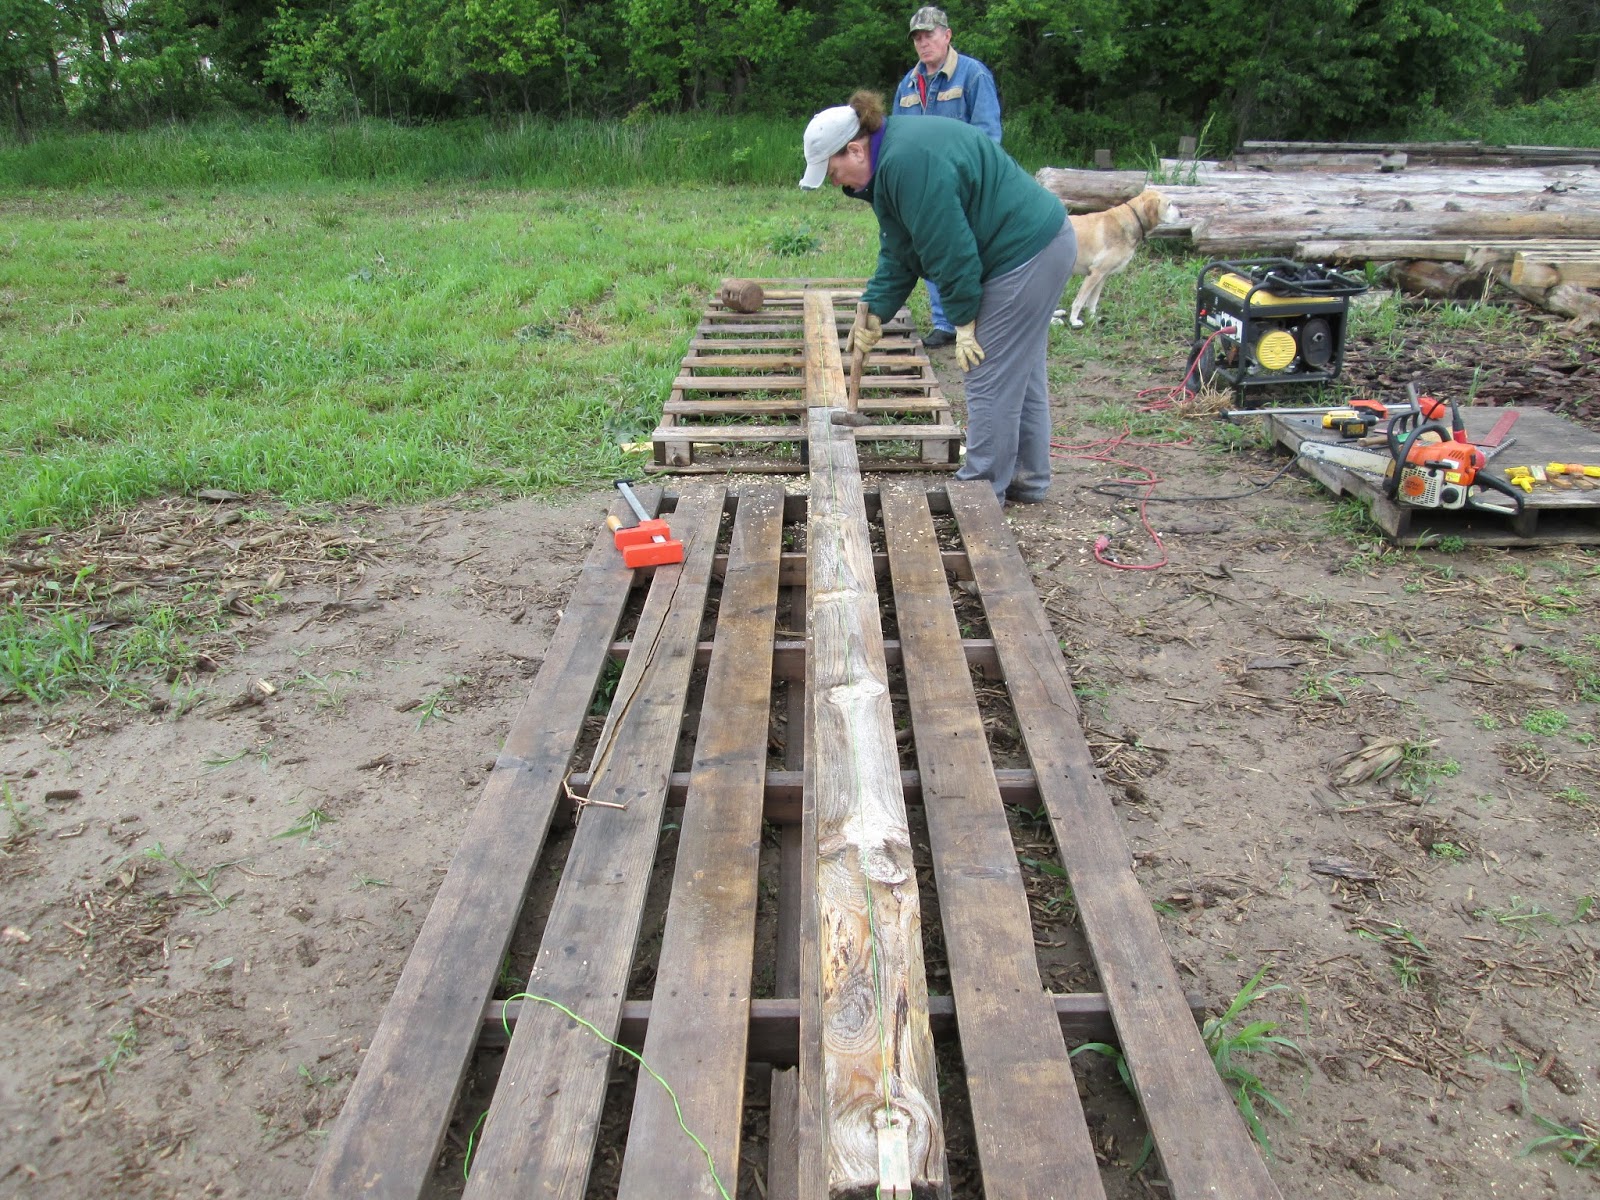
The solution this time would be a treated 6x6 base, bolt on the carving with angle irons and then fiberglass the entire carving. This should do the trick for many years to come and Jim's retirement!

6x6's in place, base on top and body in background.

This was the last repair in 2005. The leg and books now covered with fiberglass and water proofed.

Jim Davis, from the local lumber yard brought in this big boy to lift and place the Hornet body.

Everything went back together nicely with some longer screws and a metal plate on the leg.

Now the process of fiber glassing the main body and this should do it for another 20 years!


Monday, June 15, 2015

Beam supports for loft rafters

 In these pictures you can see the 5x6 beam that runs under the 14 foot rafters and supports the pegged scarf joints. The beam ends were notched into the top wall log just below the scarf joints.
 The 6 foot porch areas also required some support beams but because of the scarf joint in the middle of the loft rafters two beams, one on either side was required. Because the top surface must be kept level for the loft floor and I wanted to avoid the need for another post/s on the porch/s I had a problem.
The solution was to mortise and half-tenon the ends of the two beams and then half notch where they crossed the rafter/s. The loft is now supported and only two posts are needed on the porch/s.

Monday, June 1, 2015

Rafter notching


First the bottom chords of the roof truss need to be put together. A string line is used to set them straight and ready for drilling.

After careful layout and the drilling of a pilot hole for the first hole a draw bore hole is drilled using a drill guide to keep the drill plumb. The draw bore hole is drilled slightly ahead of the top hole so that when the peg is placed it will draw the scarf joint tight into the squinted ends.

Drive in the first peg. Drill and peg three more times and you have a nice tight joint.


Getting all the bottom chords spaced and centered was next. Then they had to be notched into the top plate so that the top surfaces were all in the same plane. This was important because the two rafters that make up the truss are located off from this surface to keep the roof ridge level. Another fine day of cabin building 101 for Sue and John.