So now that the wind ward side of the blades has been cut with the proper pitch it was time to cut and shape the airfoil side of the blade.
With the profile of the airfoil shape drawn in the excess material that needed to be removed could be seen. 45 degree angles were marked on the leading and trailing edges.
I decided to cut the bulk of the material off with a portable circular saw.
Since the thickness of the blade tapers from the root to the tip I followed the line marking the trailing edge of the blade.
Looking at the tip of the blades you can see the amount of material removed by the rough cuts. The blades will also taper from 1.5" (40 mm) at the root down to 5/8" (15 mm) at the tip.
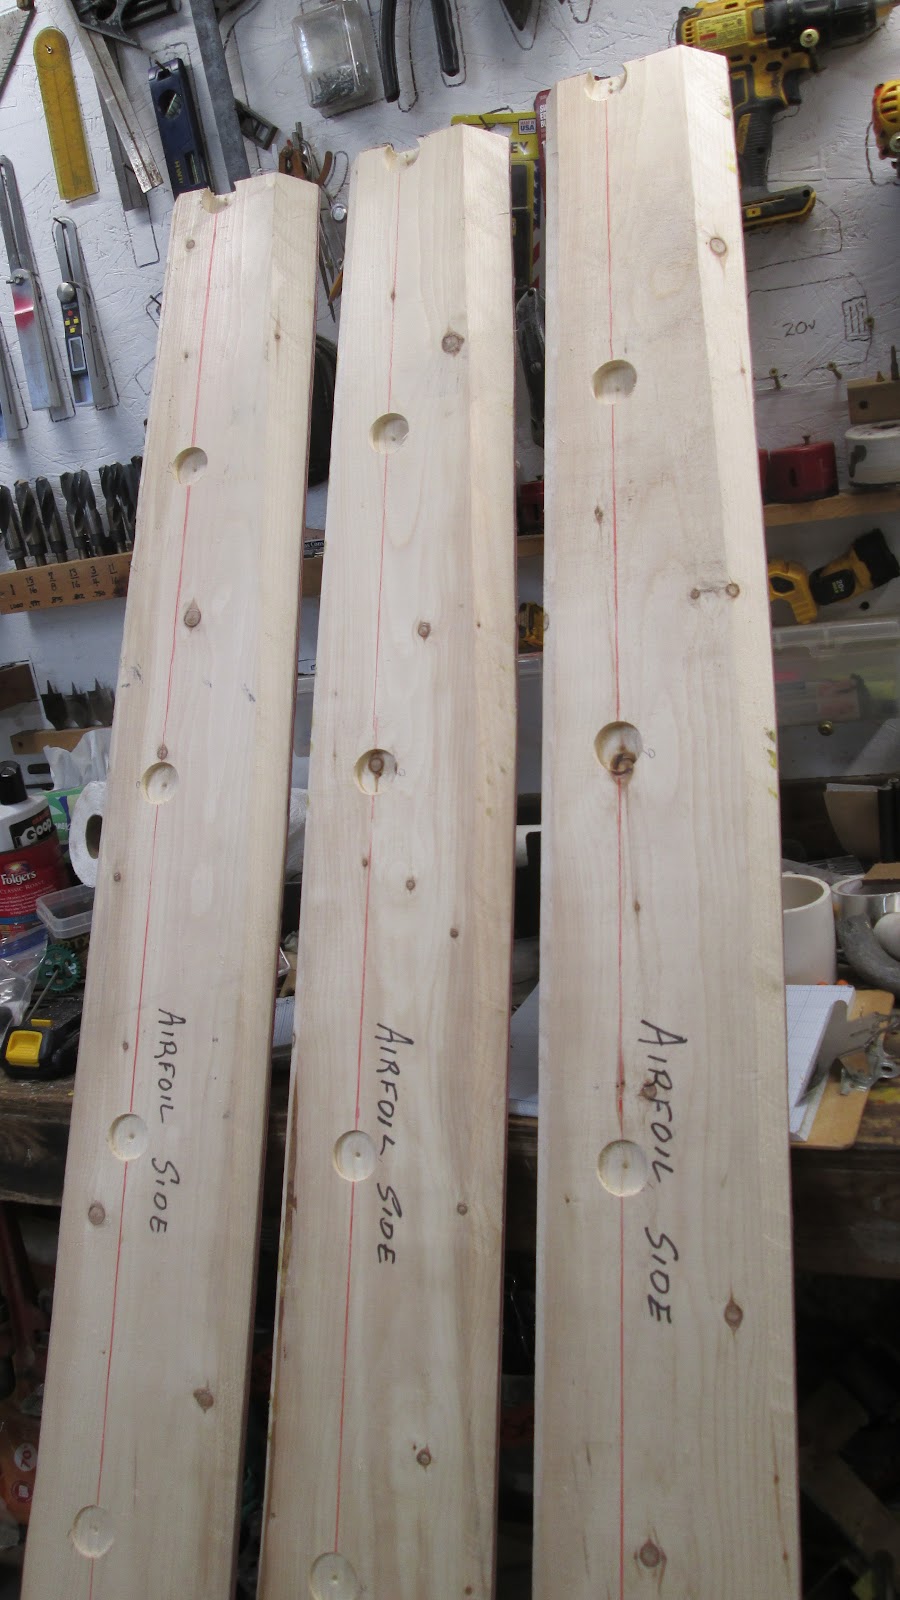
Five depth indicator holes were bored from the tip of the blade to the root to mark the taper. The holes were drilled at the thickest part of the airfoil shape.
Hole depths went from 0 mm at the root to 22 mm deep at the tip as shown above.
Using my rabbit plane I cut a groove from the tip of the blade to the root. This gave me the line (surface) I needed to get the correct taper of the blade. In this picture you can see the material that needs to be removed above the airfoil shape at the tip of the blade. The amount of material needing to be removed would decrease as I worked toward the root of the blade. The amount of decrease would be indicated by the decreasing depth of the rabbit groove I cut.
To speed up the process of removing this material I used a tool that served me well when chainsaw wood carving log sculptures. This blade made short work of removing the excess material from tip to root giving me the taper of the blade but not the airfoil shape.
With the correct taper cut I could now switch back to the jack plane and carefully shape the airfoil on each blade.


No comments:
Post a Comment