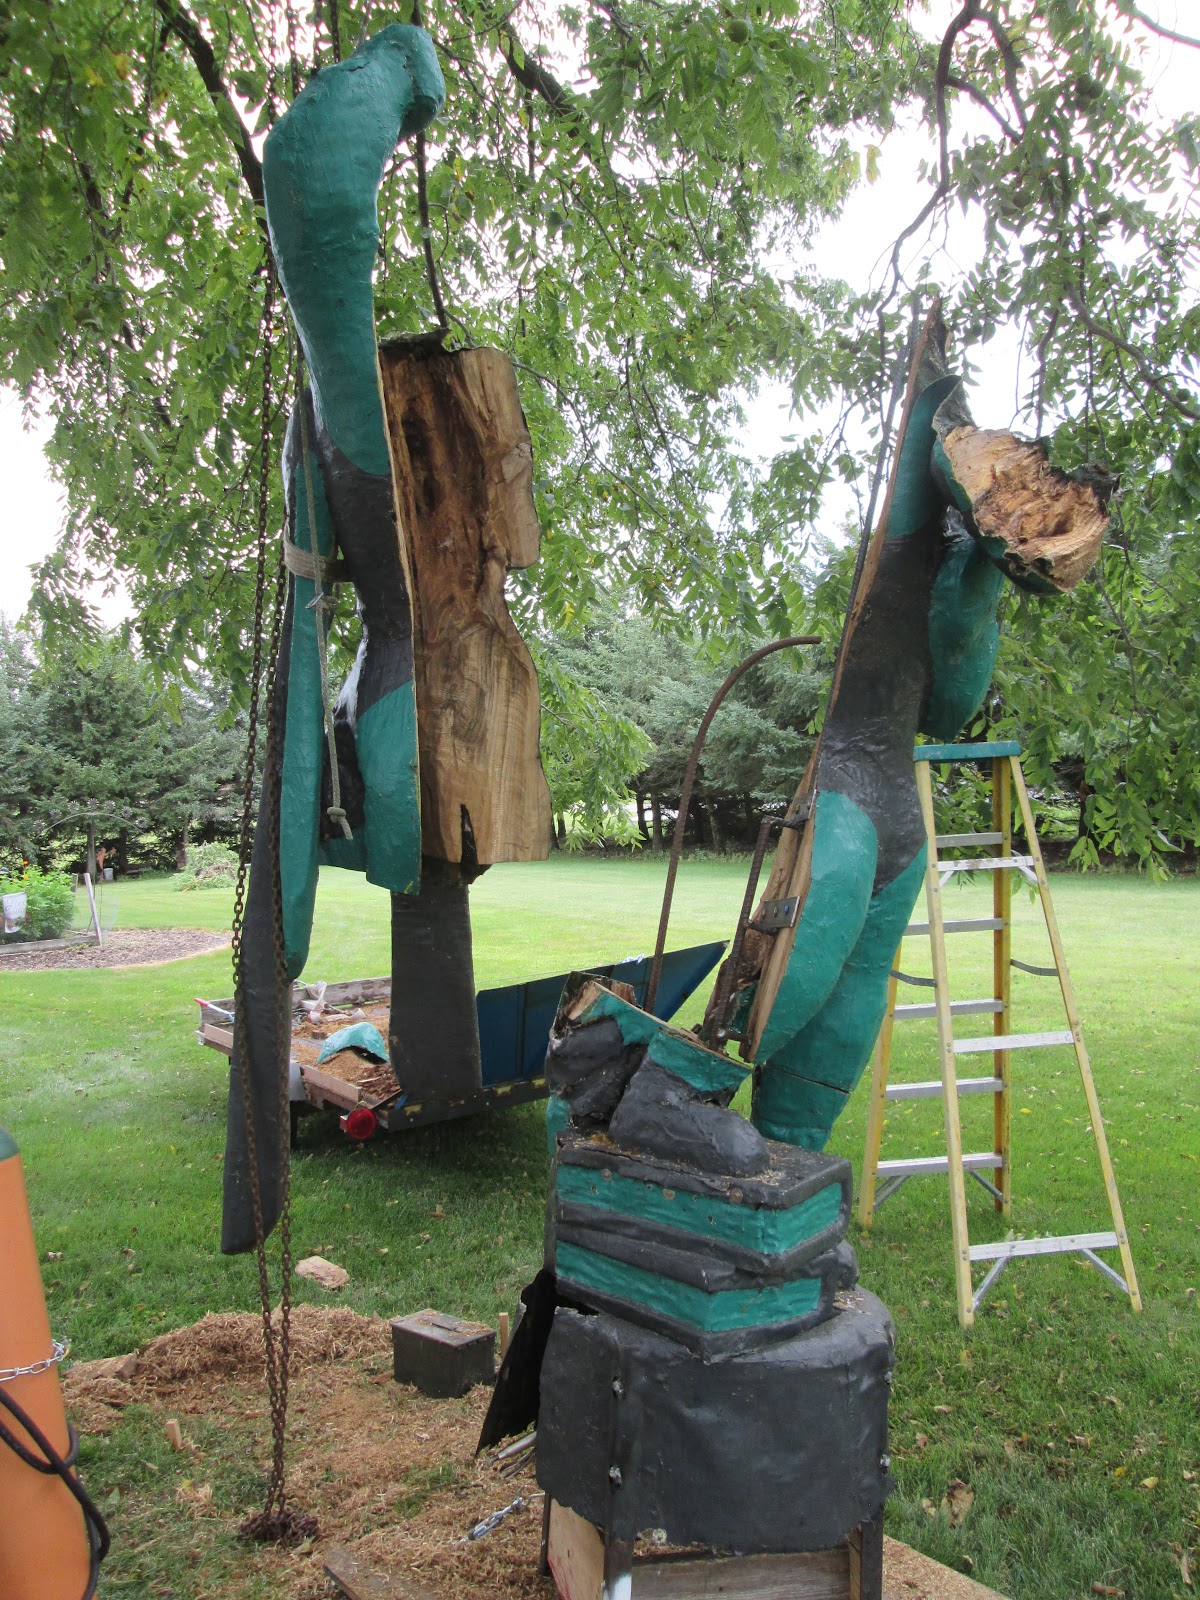
Picture in your mind the x-ray pictures you have seen for the repair to peoples broken bones and you will have some idea of what is now inside the Hornet body.
The back half was hooked to the chain fall and lifted into place so measurements and clearance spaces for the upper support rods could be cut.
The top rods were welded to the bottom rods and then all three welded together at the top. This formed a triangle and gave the support strength. Geometry 101
The wings were sound and three screws would be run through them and go into treated wood that had been attached to the three main rods. When the two halves were screwed back together the weight of both halves would be transferred to the three main support rods. The load path would continue to the rods going through the books and 8 rods welded to the 4 angle iron mounting legs in the base.
Because half of the Hornets wood had rotted or had been cut away lifting with belts wrapped around the body would be out of the question. To solve this problem I welded a long 1/2" nut to the top of the rods in the head. A 2" eye screw would now provide a lifting point. However the raised arm and antenna would be in the way during lifting as the Hornet went from vertical to horizontal when I put it on the trailer (and visa versa) for the return to Scales Mound.
My solution to this was to make an extension rod the would place the eye screw above the arm and antennas
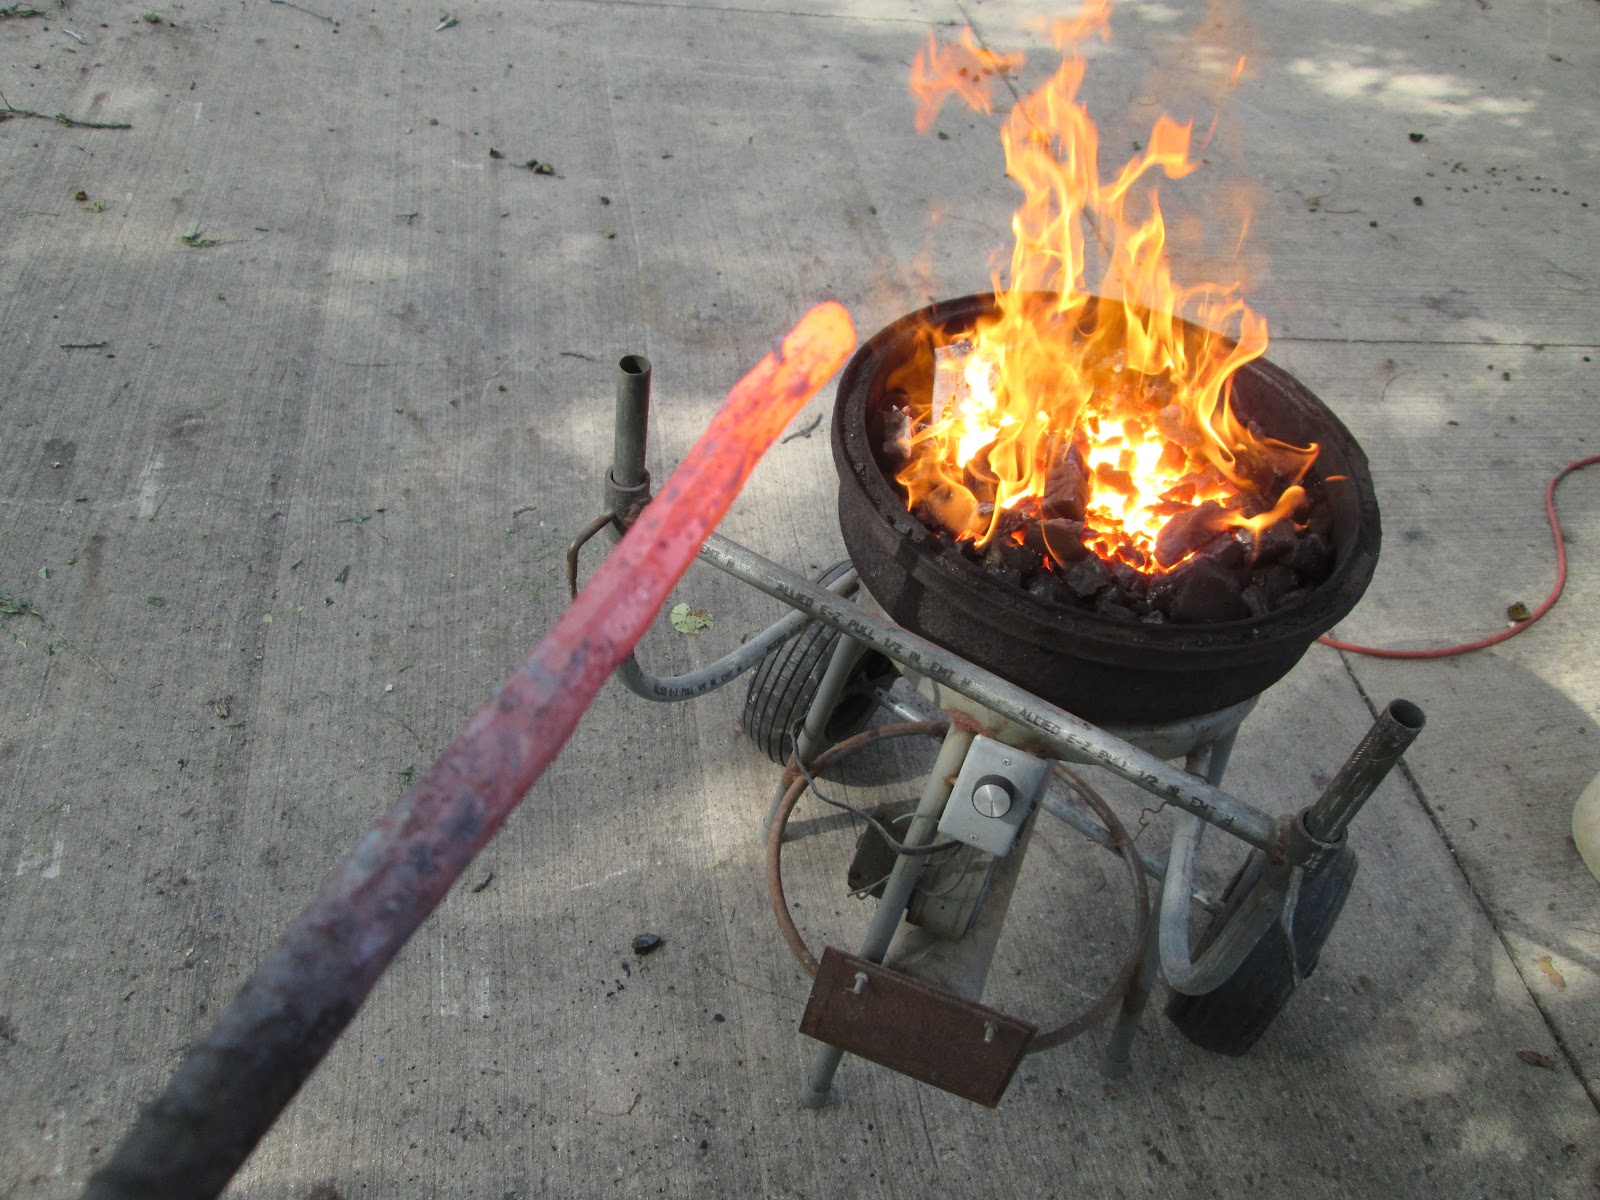
Speaking of antennas I fired up the ol' forge and decided to replace the wooden antennas with some nice hand forged steel ones.
Antennas tapered, formed and ready to mount with lag bolts welded on the root ends.
With the halves screwed back together it was time to repair the cuts made by the chainsaw and other repair work to the books, arm and head.
First the fiberglass cloth was placed over the repair areas. I used hot glue to tack it down and hold it in place until the resin could be applied. When the hardener was mixed into the resin I had about 10 minutes to brush in on before it set up. Once it set the fiberglass was hard and strong.
A nice new fresh coat of paint and the Hornet is ready for it's first day of school.


No comments:
Post a Comment