Saturday, August 10, 2024

Final touches to the Hornet repair


Picture in your mind the x-ray pictures you have seen for the repair to peoples broken bones and you will have some idea of what is now inside the Hornet body.


The back half was hooked to the chain fall and lifted into place so measurements and clearance spaces for the upper support rods could be cut. 


The top rods were welded to the bottom rods and then all three welded together at the top. This formed a triangle and gave the support strength. Geometry 101


The wings were sound and three screws would be run through them and go into treated wood that had been attached to the three main rods. When the two halves were screwed back together the weight of both halves would be transferred to the three main support rods. The load path would continue to the rods going through the books and 8 rods welded to the 4 angle iron mounting legs in the base.


Because half of the Hornets wood had rotted or had been cut away lifting with belts wrapped around the body would be out of the question. To solve this problem I welded a long 1/2" nut to the top of the rods in the head. A 2" eye screw would now provide a lifting point. However the raised arm and antenna would be in the way during lifting as the Hornet went from vertical to horizontal when I put it on the trailer (and visa versa) for the return to Scales Mound.


My solution to this was to make an extension rod the would place the eye screw above the arm and antennas


Speaking of antennas I fired up the ol' forge and decided to replace the wooden antennas with some nice hand forged steel ones.


Antennas tapered, formed and ready to mount with lag bolts welded on the root ends.

With the halves screwed back together it was time to repair the cuts made by the chainsaw and other repair work to the books, arm and head.


First the fiberglass cloth was placed over the repair areas. I used hot glue to tack it down and hold it in place until the resin could be applied. When the hardener was mixed into the resin I had about 10 minutes to brush in on before it set up. Once it set the fiberglass was hard and strong. 

A nice new fresh coat of paint and the Hornet is ready for it's first day of school.


Friday, August 9, 2024

Hornet repair - rotten to the core

 So I had sawn off the bottom of the Hornet and thought that all I would need to do was rebuild the book material and put some rods in the legs and reassemble the two halves.


Thinking about how I would go about this I decided to further cut off the books from the base and have a clearer pathway for my book rebuilding.


The rot was more than I imagined and realized no rods in the legs were going to do it. A support frame structure was going to be necessary and it would have to carry the 300-400 pound weight of the upper half of the Hornet.


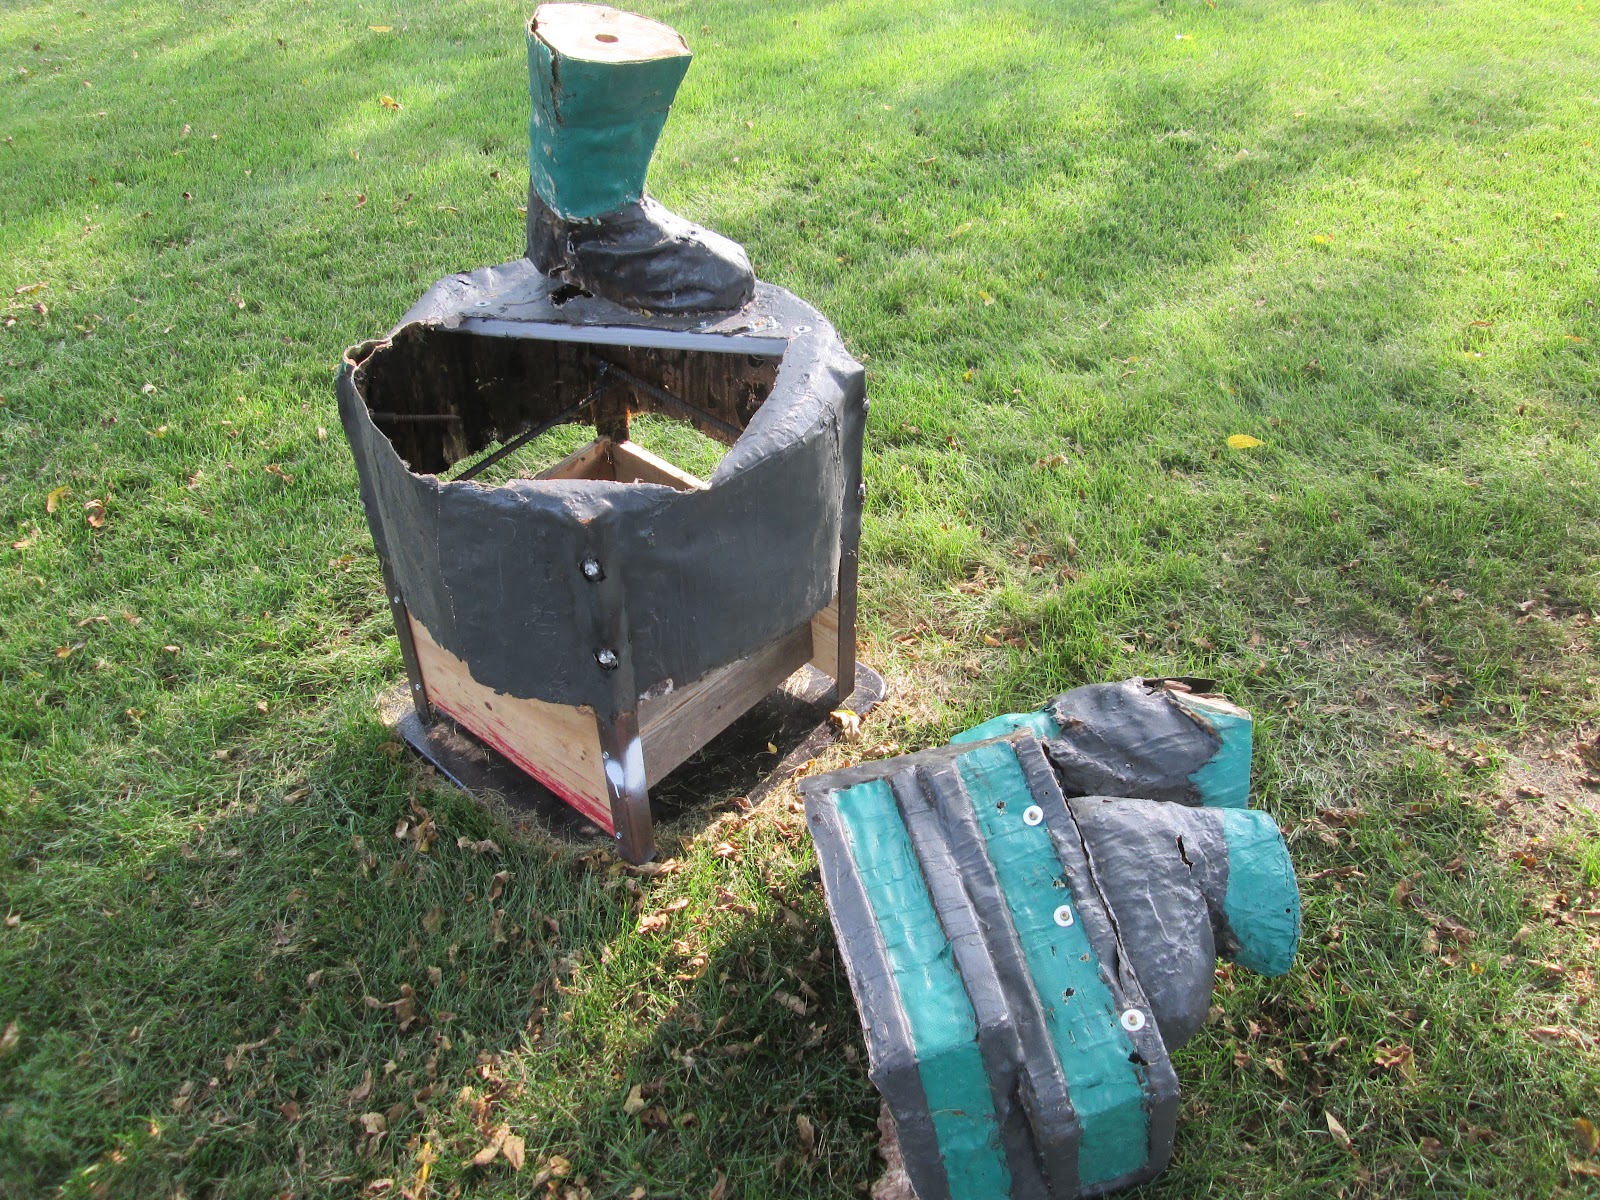
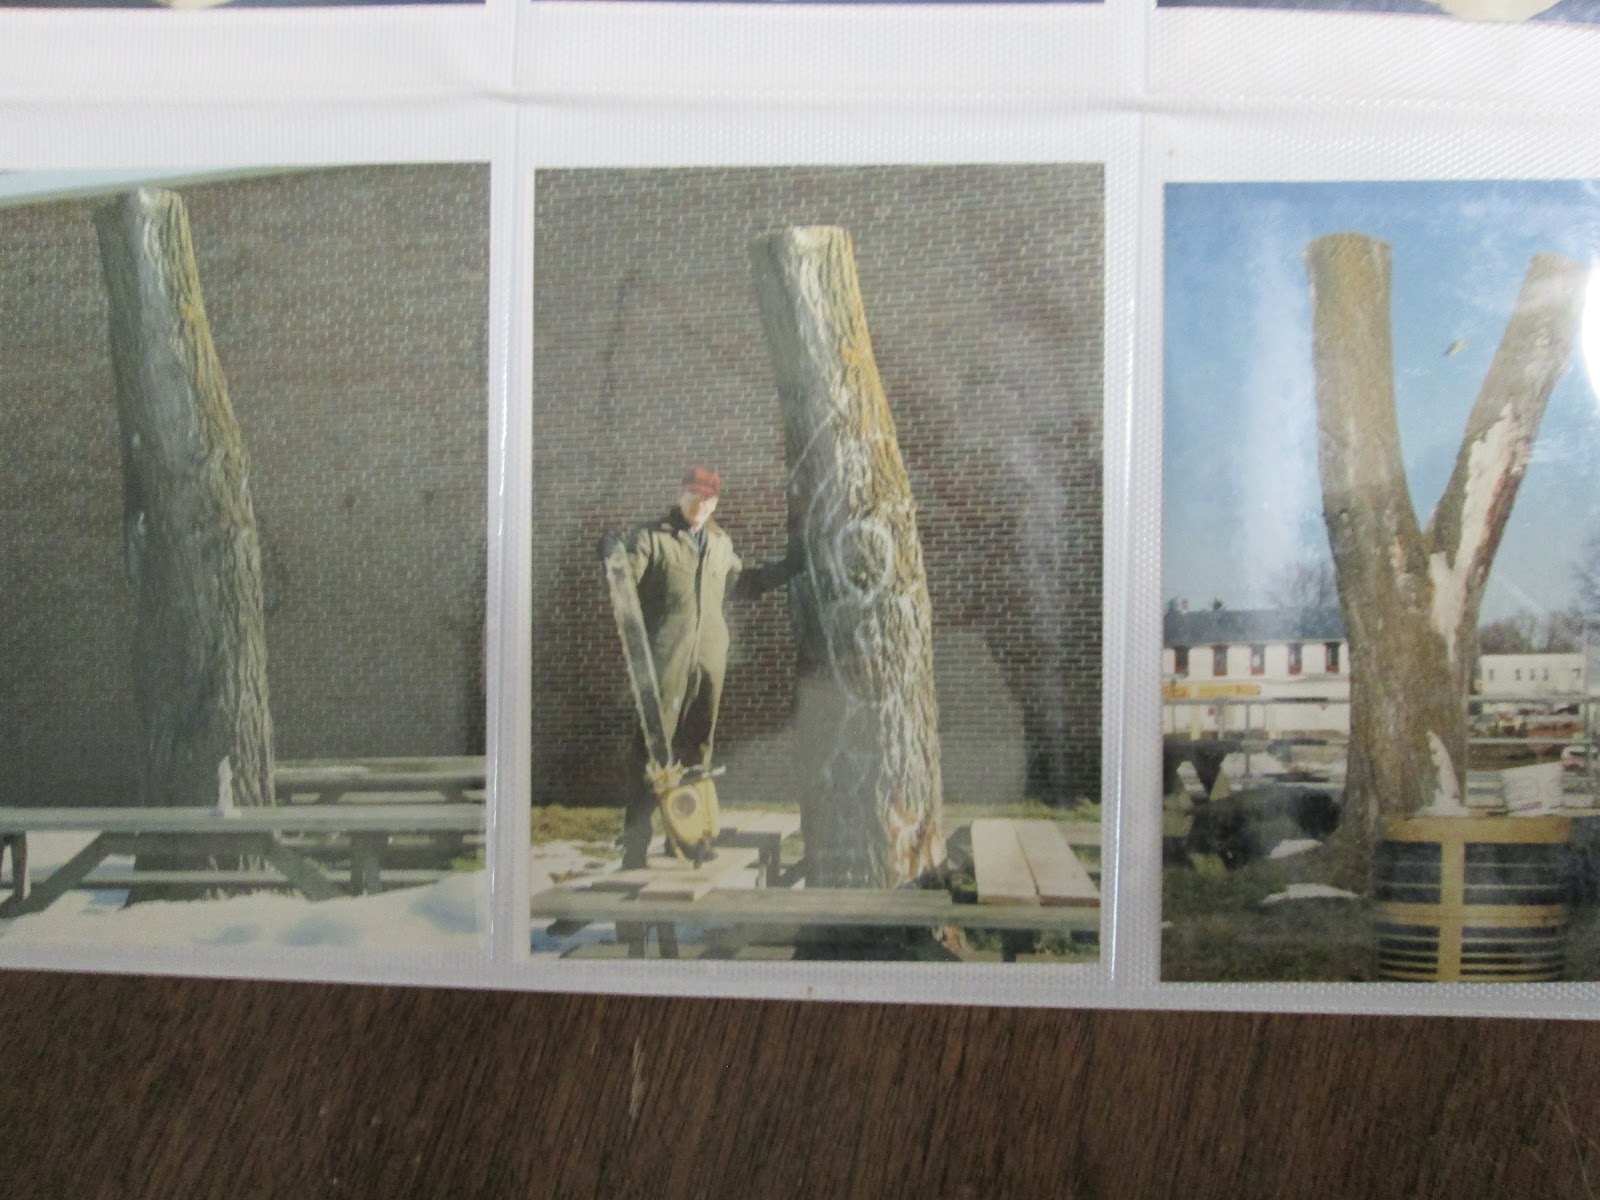
I brought the upper half of the Hornet home in my truck and put it on a low trailer. As I moved it from the truck I began to realize that the ol' Hornet was rotten to the core!


Major surgery was required so I could get a better look at the Hornet's insides. As the line in the song goes, "the first cut is the deepest".


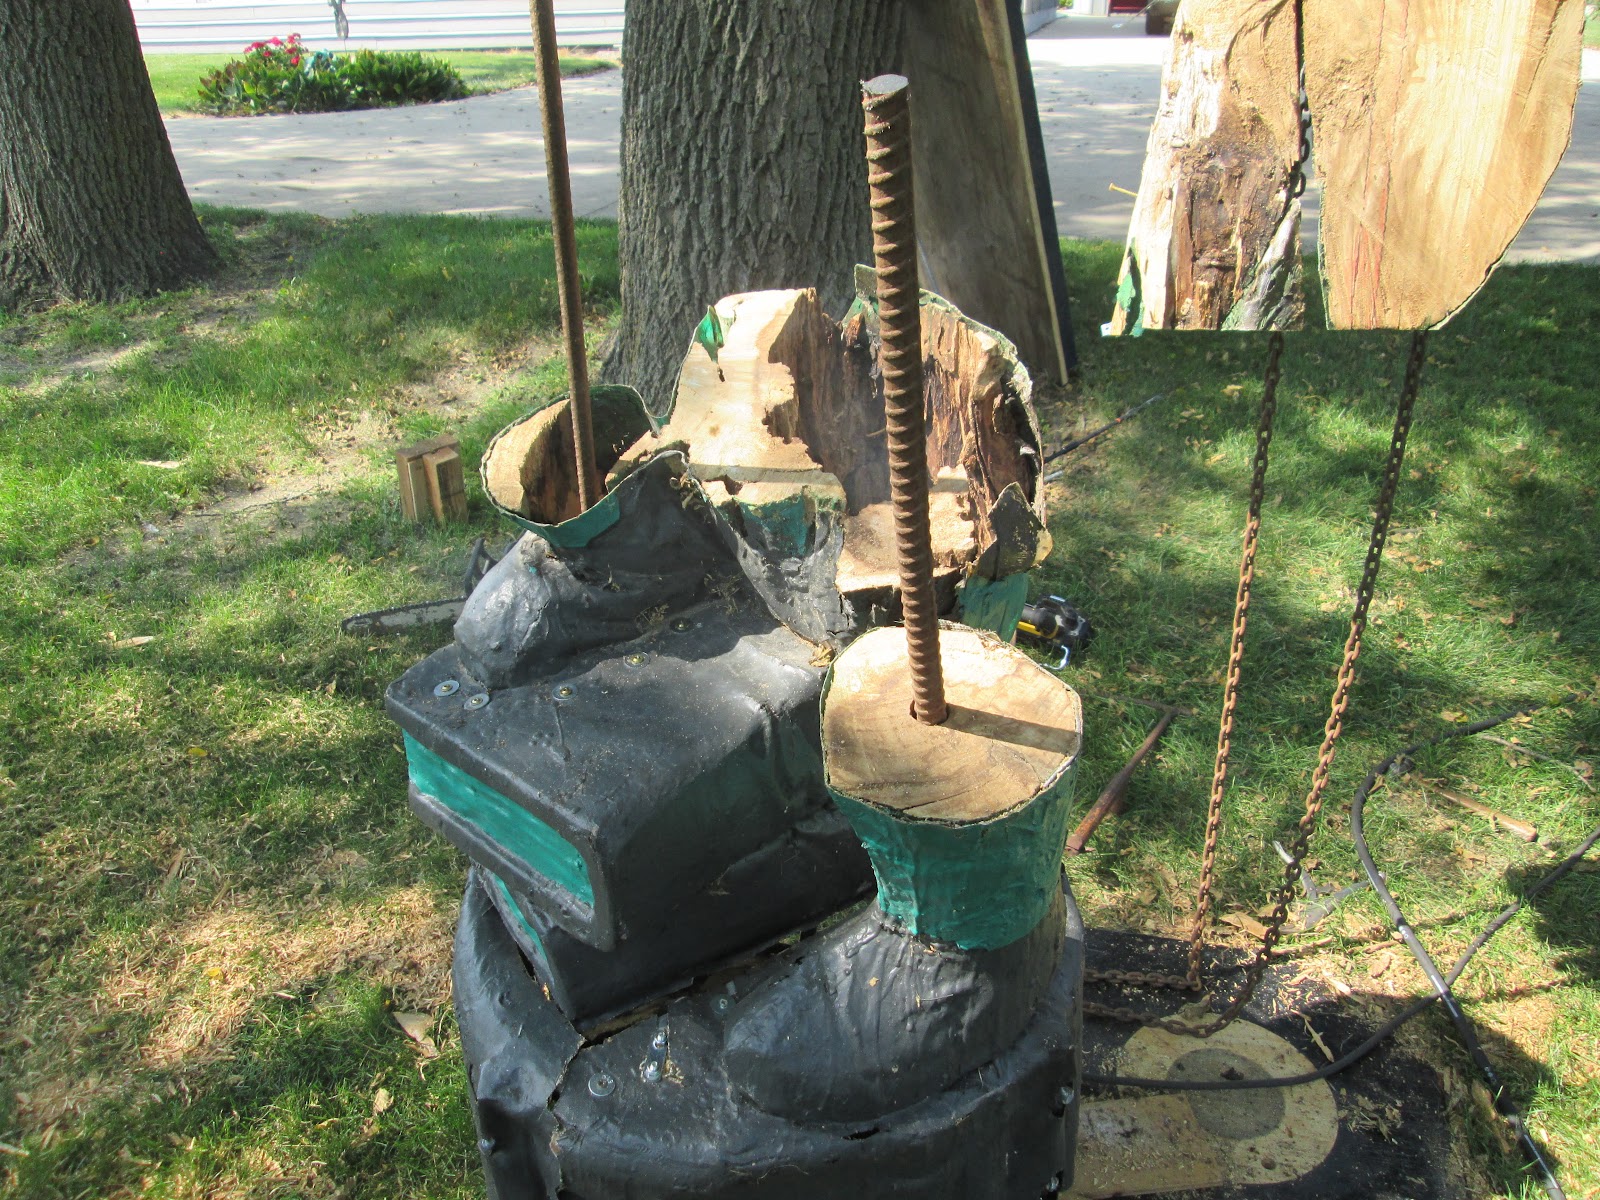
The insides were a soft pulp. However this proved to be a good thing as now the center of the Hornet would be open and I could design and build my support structure.


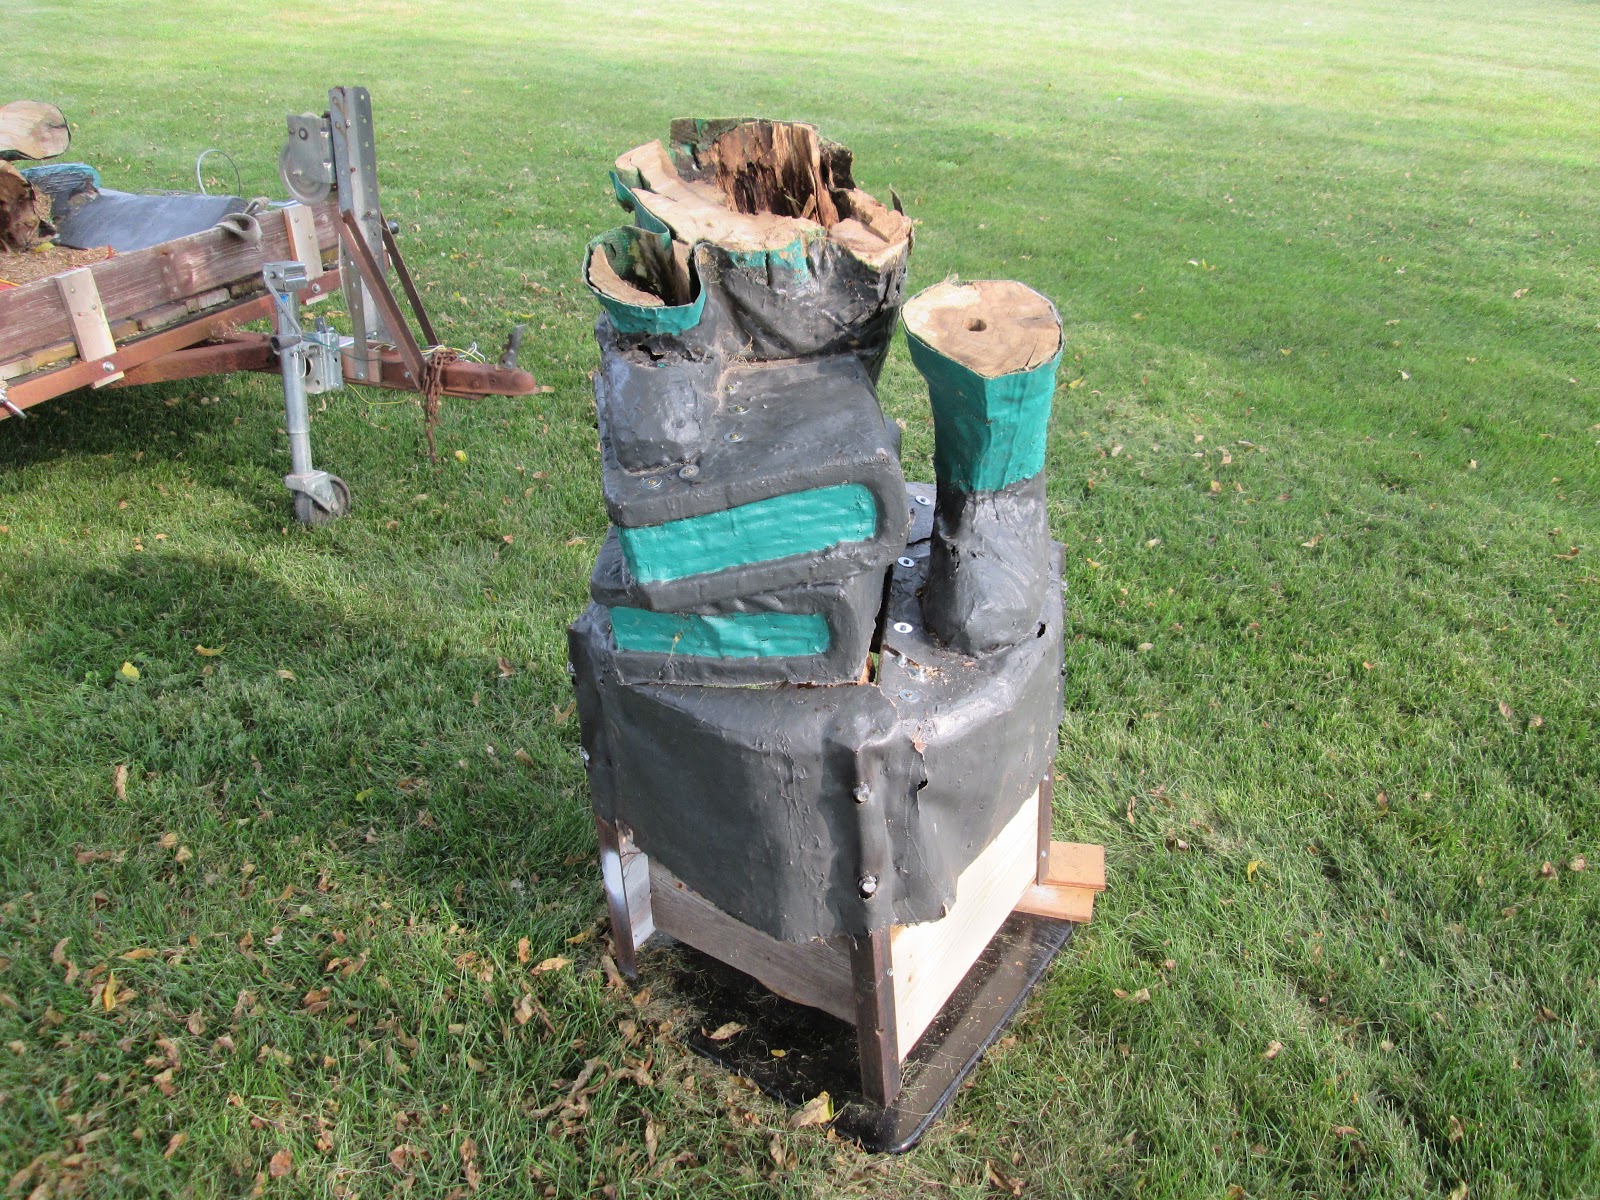
Working from the bottom up I had rebuilt the book with some treated 1x6's. In the base I welded two sets of 1/2" rebar about 6" apart to the four angle iron legs that mount the Hornet to the four 6x6's base.


It was now a matter of going from the rebar cage with some vertical rods to set the books on. These rods would carry only the 10 pounds of book weight. 


OK so now I had to figure out a way to get some major 3/4" rebar to come up through the 1" hole I drilled in the right leg stump. I would then weld and brace this rebar to the bottom 1/2" rebar cage.


I had an opening for a piece of 5/8" rebar to come up through the books and other leg. Now I had two points to work with.

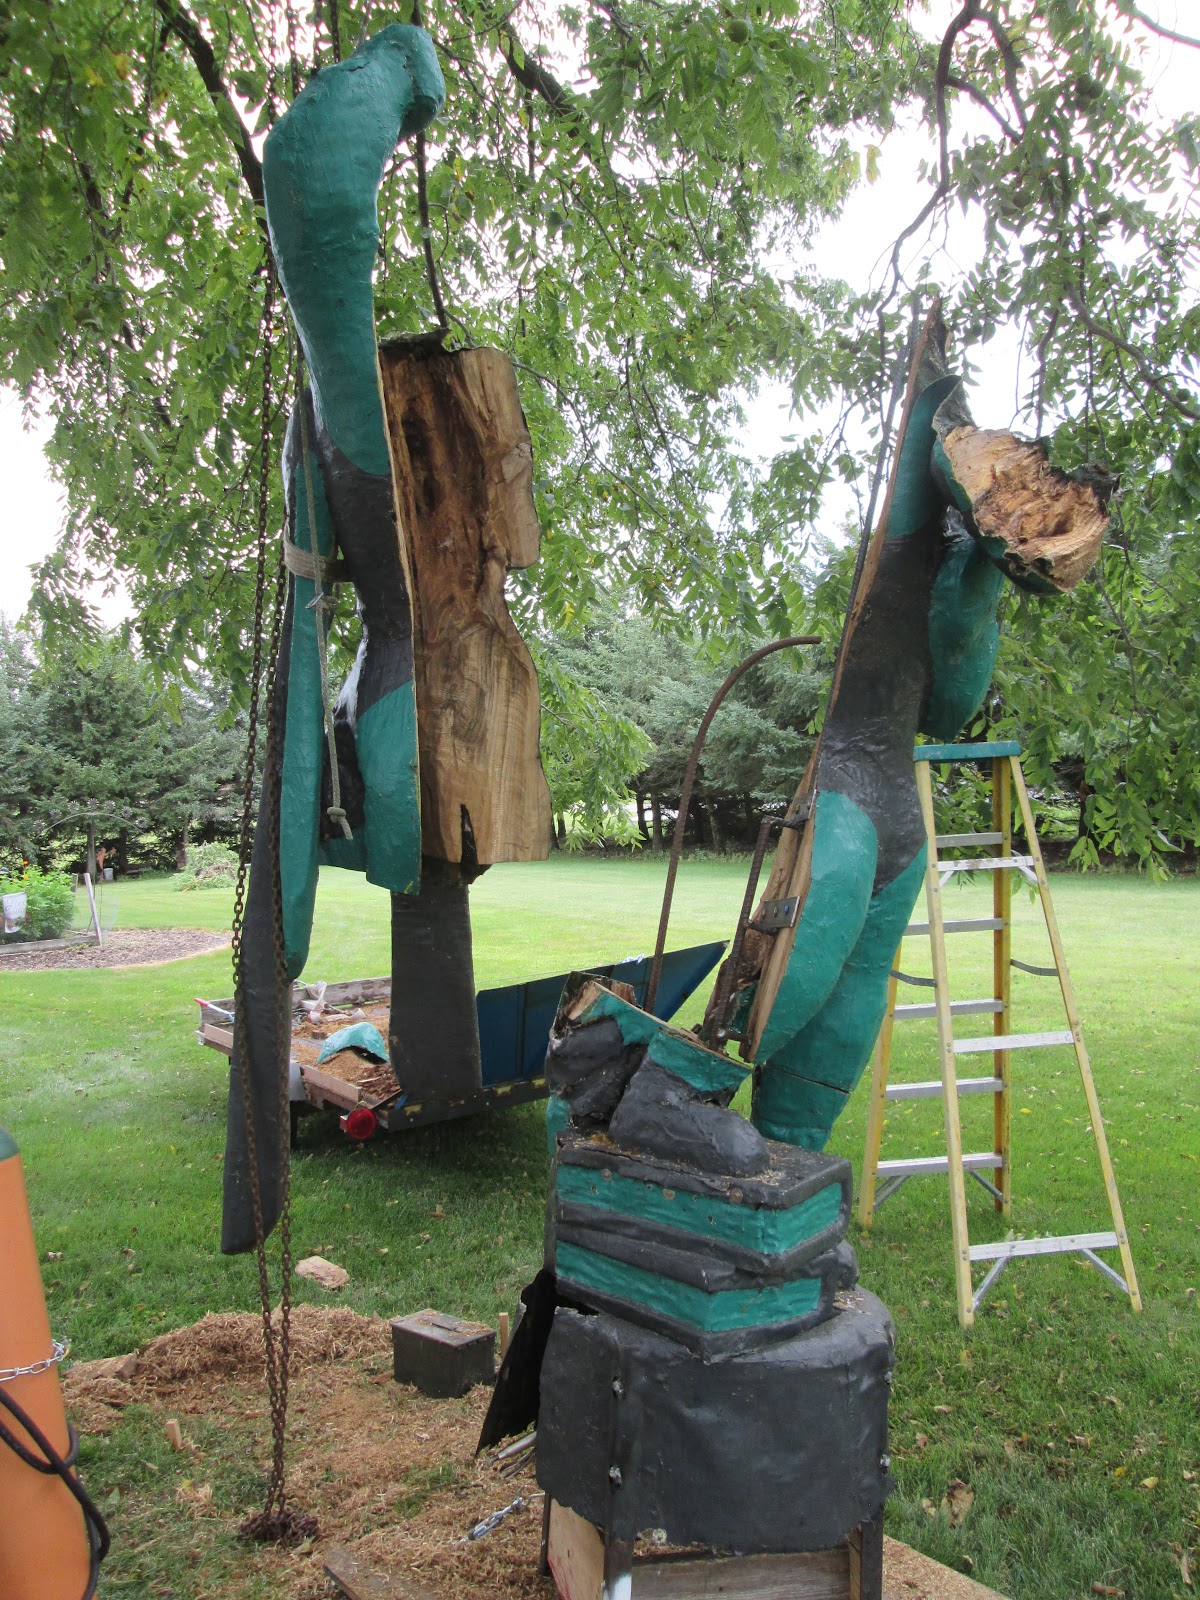
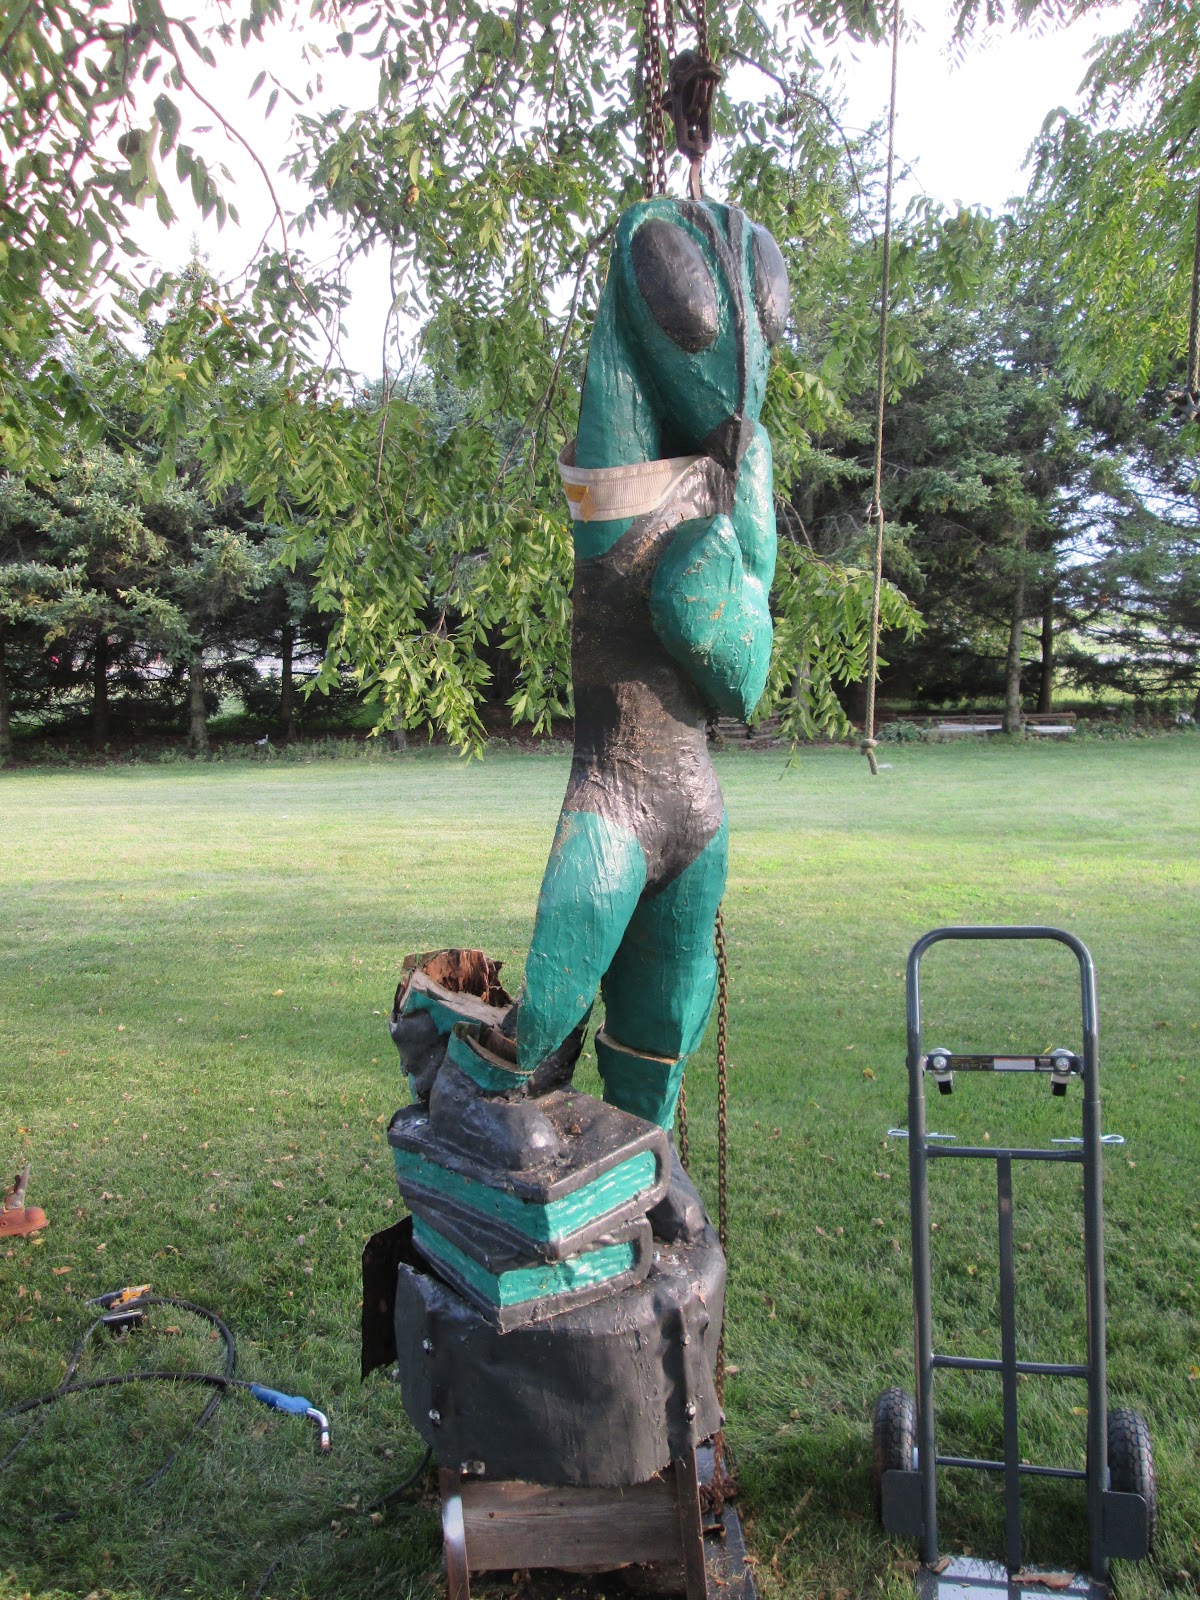
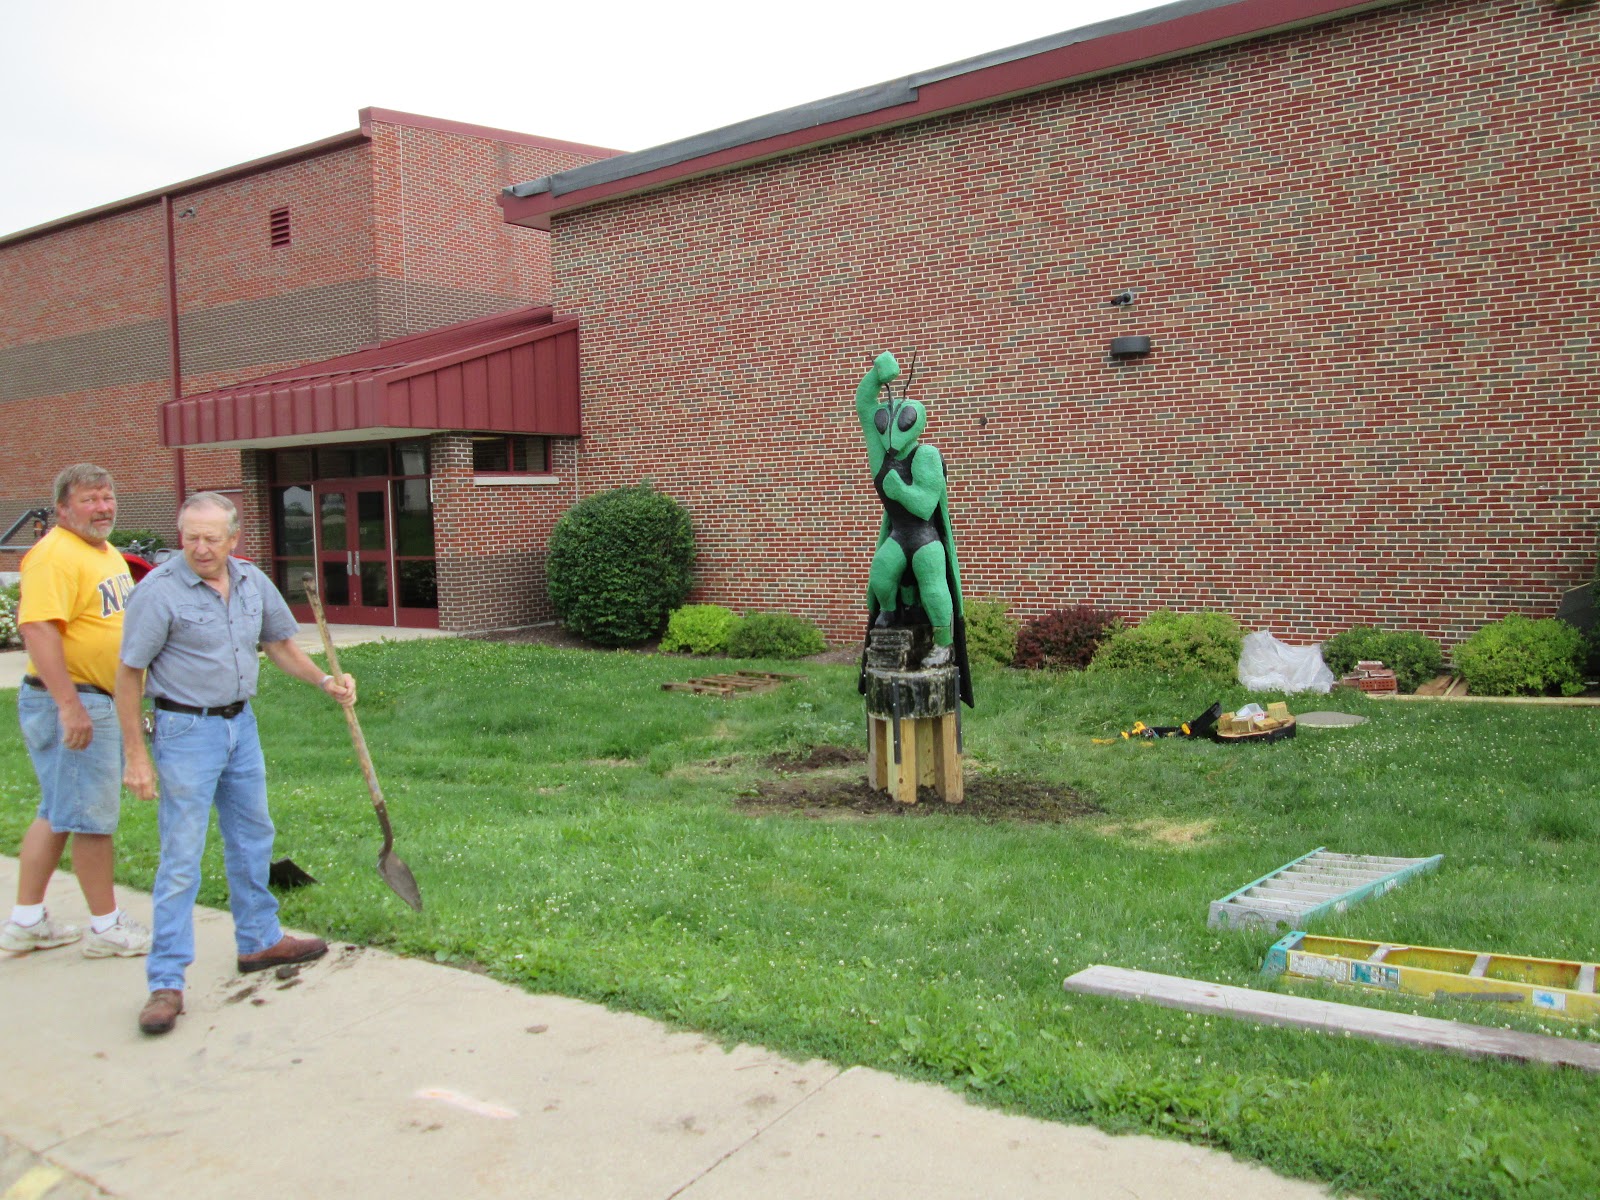
Time to bring over the front half go the body. This was hoisted up into place with a chain fall that I hung on a tree limb in the yard.


Using some plates and GRK screws I secured the front half of the body in place. I need to have three rods to form a triangle to support the 300 to 400 pounds of Hornet weight.


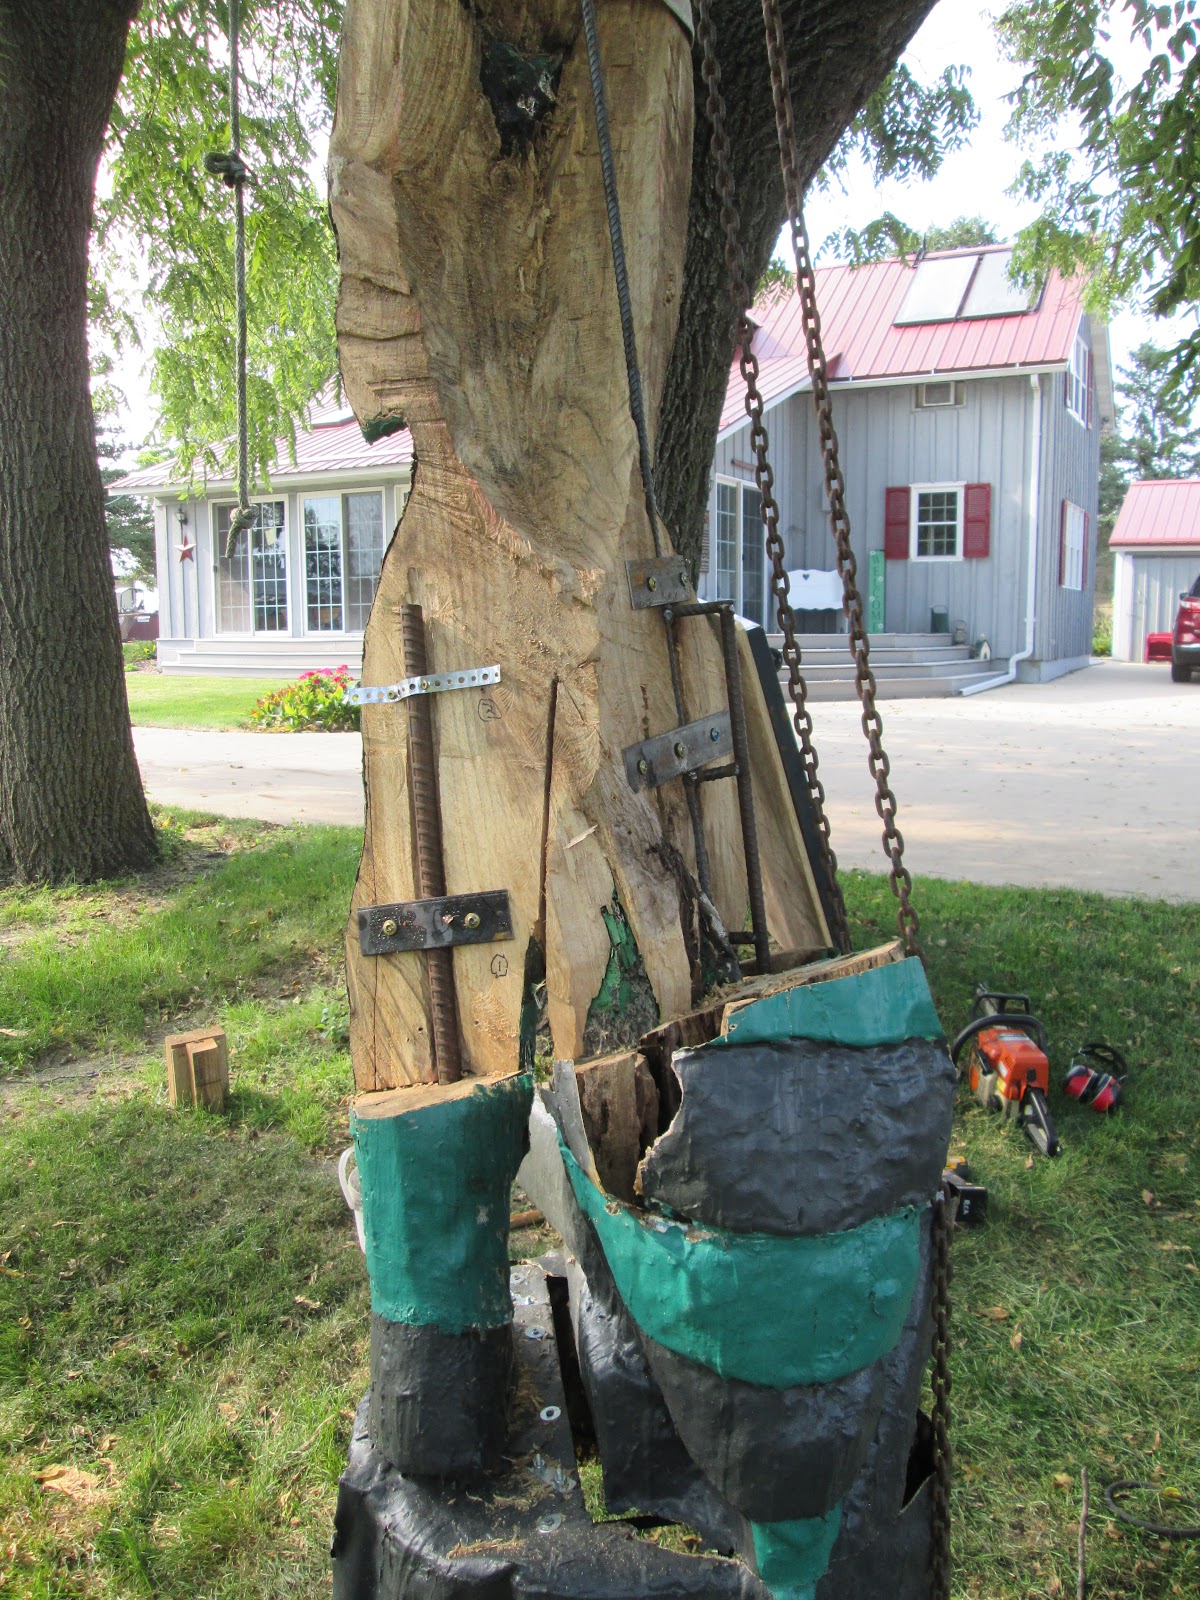
I would need to have the back half of the body in place so I could determine where the three rods would go so as not to interfere with the two half when being reassembled.


It took a bit of sawing to clear the way for the rods that were welded onto the base rods. Now the entire weight of the Hornet went through the rods and was carried by the 4 angle iron base mounts going to the four 6x6's in the ground. Since the remaining wood was to thin to handle any weight or pressure from straps to lift it back into place I welded a 1/2" long nut at the top of the three rods. Into this a 2" eye screw would be threaded and the Hornet could be easily lifted from one point on the head.

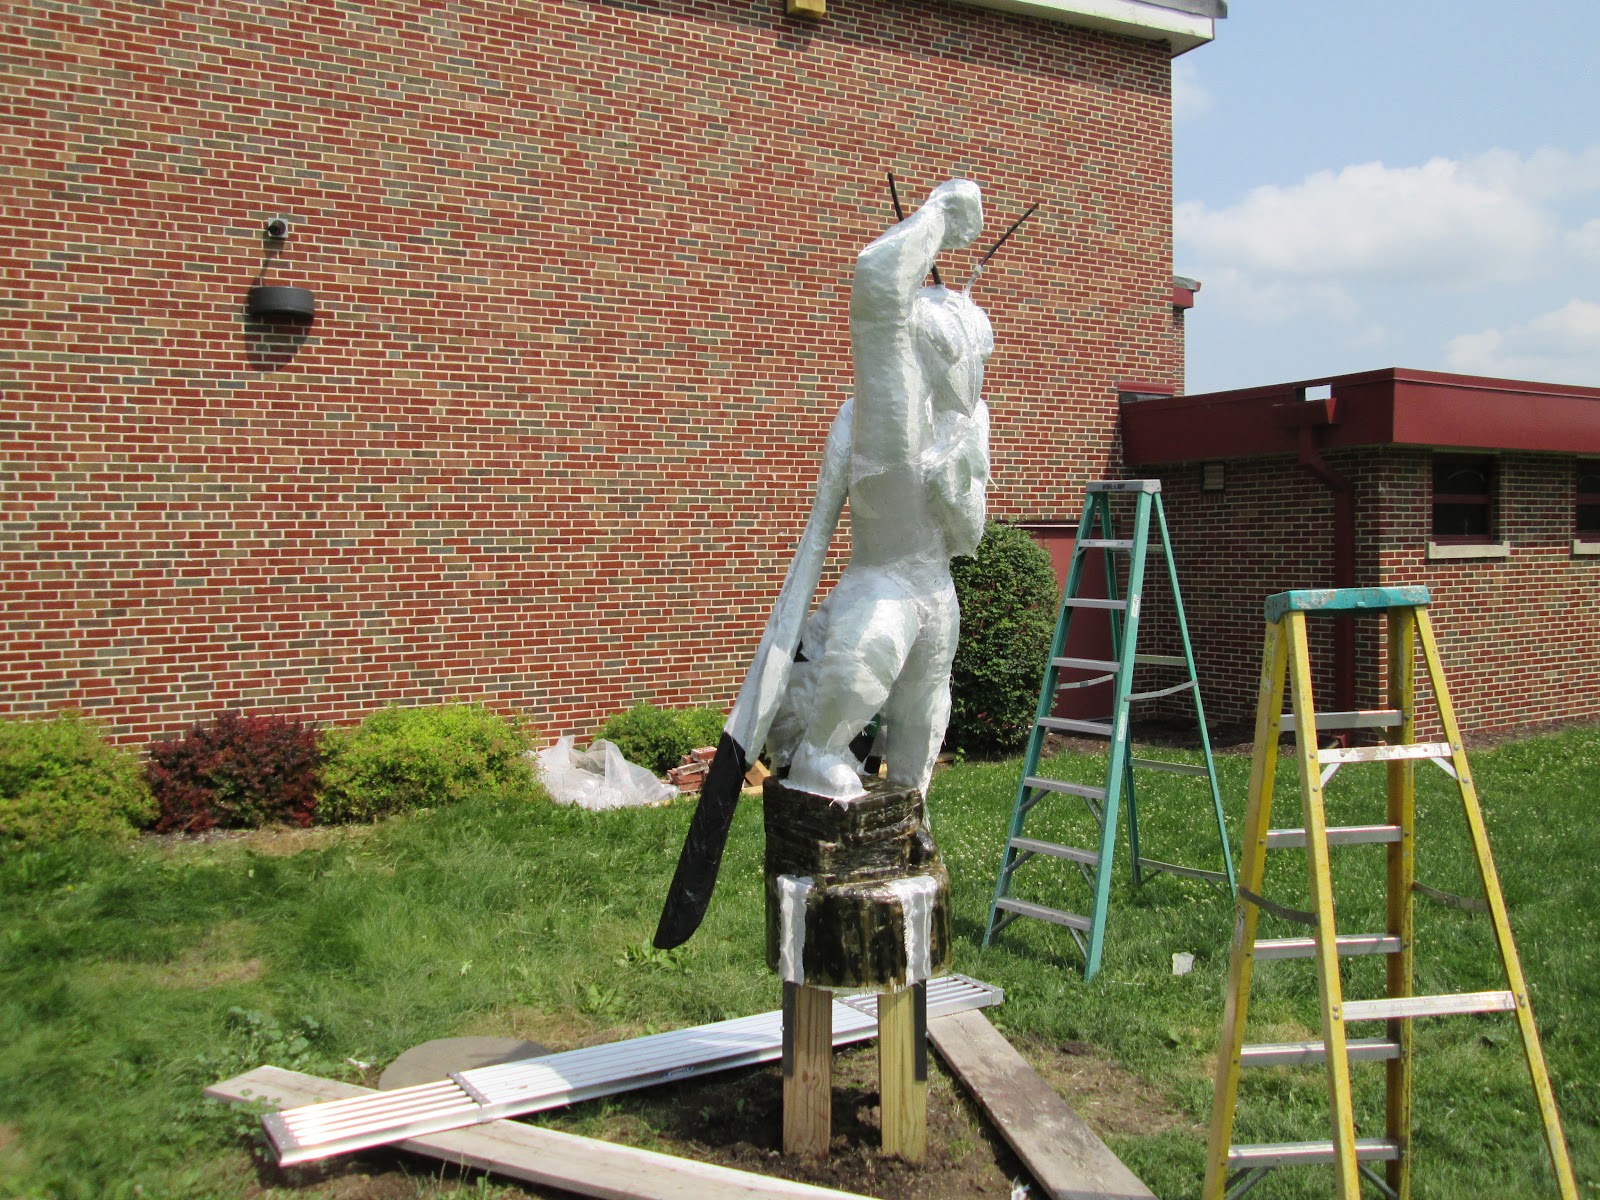
So can I get it all back together ? 


Wednesday, August 7, 2024

Hornet repair history

 I got the call from Jim Glasker in the summer of 2005, he wanting to know if I could take a look at the Hornet base. Sure enough the roots of the Hornet tree trunk were rotting away. Since at this time I was doing a lot of carving I had a good supply of logs. My solution was to saw the Hornet off at the base and graft it on to a replacement log. Jim had the hole dug and we did the repair work. End of story, right?

The summer of 2015 came with another call from Jim. The 20 year old Hornet body was in decay. Could I have a look at it? It was serious. 20 years in the elements had taking its toll on the big green insect. My solution was to fiberglass the entire Hornet. I would do the work if the school would pay for the materials. It would then be like an M & M candy and good for a lifetime.

The 2015 repair went pretty good.

I had sawed off the body and base of the carving so a rotted leg could be replaced. The 10 year old replacement log had also decayed and this time we would set in four treated 6X6's to mount the Hornet on.

Hornet parts ready to be reassembled.

Davis lumber had a lift that could help lift the hornet for reassembly.

With the Hornet reassembled and mounted it was time to cover it with fiberglass cloth. It would take several yards of cloth to cover it. The cloth was stapled on to hold it in place until the resin could be applied.

It would take 3 gallons of resin. When the catalyst hardener was added it had to be brushed on in under 5 minutes before is set up. For this reason I mixed small amounts at a time by only adding hardener to one tray of resin, mixing and then brushing it on to the fiberglass cloth.


Repair mission complete, right? Well maybe...

What could go wrong ? 

2024 The Hornet is back on the operating table.
 

The call this time, the Hornet was leaning and looked like it might fall over. Could I take a look at it? Sure enough it was leaning and the call came in the nick of time. In this picture you can see the wood inside the top book had rotted away and the weight of the Hornet body was crushing the M & M fiberglass shell. You can also see some serious rot behind the books. This repair would require some serious thought and engineering.

Keep watching if you want to see the problems and solutions for saving this 30 year old wood carving.


Monday, August 5, 2024

Scales Mound Hornet repair project


In 1995 I was teaching at Scales Mound high school in Scales Mound, IL. The new art teacher had just created a new drawing of the school mascot, a green Hornet. A large tree right in front of the school had died and the top cut off it. As a side hobby I had taken up chainsaw wood carving. new mascot, large tree in front of the school and a guy that likes to carve things with a chainsaw. Do you see where this is going?

If not keep reading and as Paul Harvey used to say, "and now for the rest of the story.."  

The new Hornet mascot as designed by the new art teacher. It had some punch and I thought it would make a nice carving.

I began by making a 3D clay model that would have the Hornet standing more vertical and the wings closer to the body. I wanted to work in the academic side of school into the carving so I had the Hornet standing on two "books of knowledge". 

Since I decided to do this project on my own I didn't ask anyone if it would be OK to carve and did it over spring break while school was out. I had carved a 12' tall Cardinal red bird a few years earlier in Darlington so I knew how to go about it but there is always the thought in my mind that it might not turn out. To make the first cuts I borrowed an old chainsaw that had a 48" bar on it.  

But it did turn out and looked pretty good if I do say so myself. Even made the '95 Hornet yearbook.

Time would take its toll on the stump of the tree that the Hornet was carved on and in 2005 (I had left Scales Mound by then) I got a call from Jim Glasker that the Hornet need some work, could I take look at it. I did and decided It needed a new base. 

I will continue the repairs in my next story if you want to see how involved the process becomes to keep a 30 year old wood carving alive.