Got a bit distracted last week. Saw this in the latest issue of my Timber Frame Guild publication and decided to give it a go. How would this design compare to the Town Lattice truss bridges I built a few years ago?
My idea is to experiment with this woven arch type bridge and if successful put together a 1/2 day learning experience for people interested in this unique design. They would build a small foot bridge spanning 20 feet out of 8 foot long landscape timbers at Shake Rag Alley arts center in Mineral Point, WI next summer.

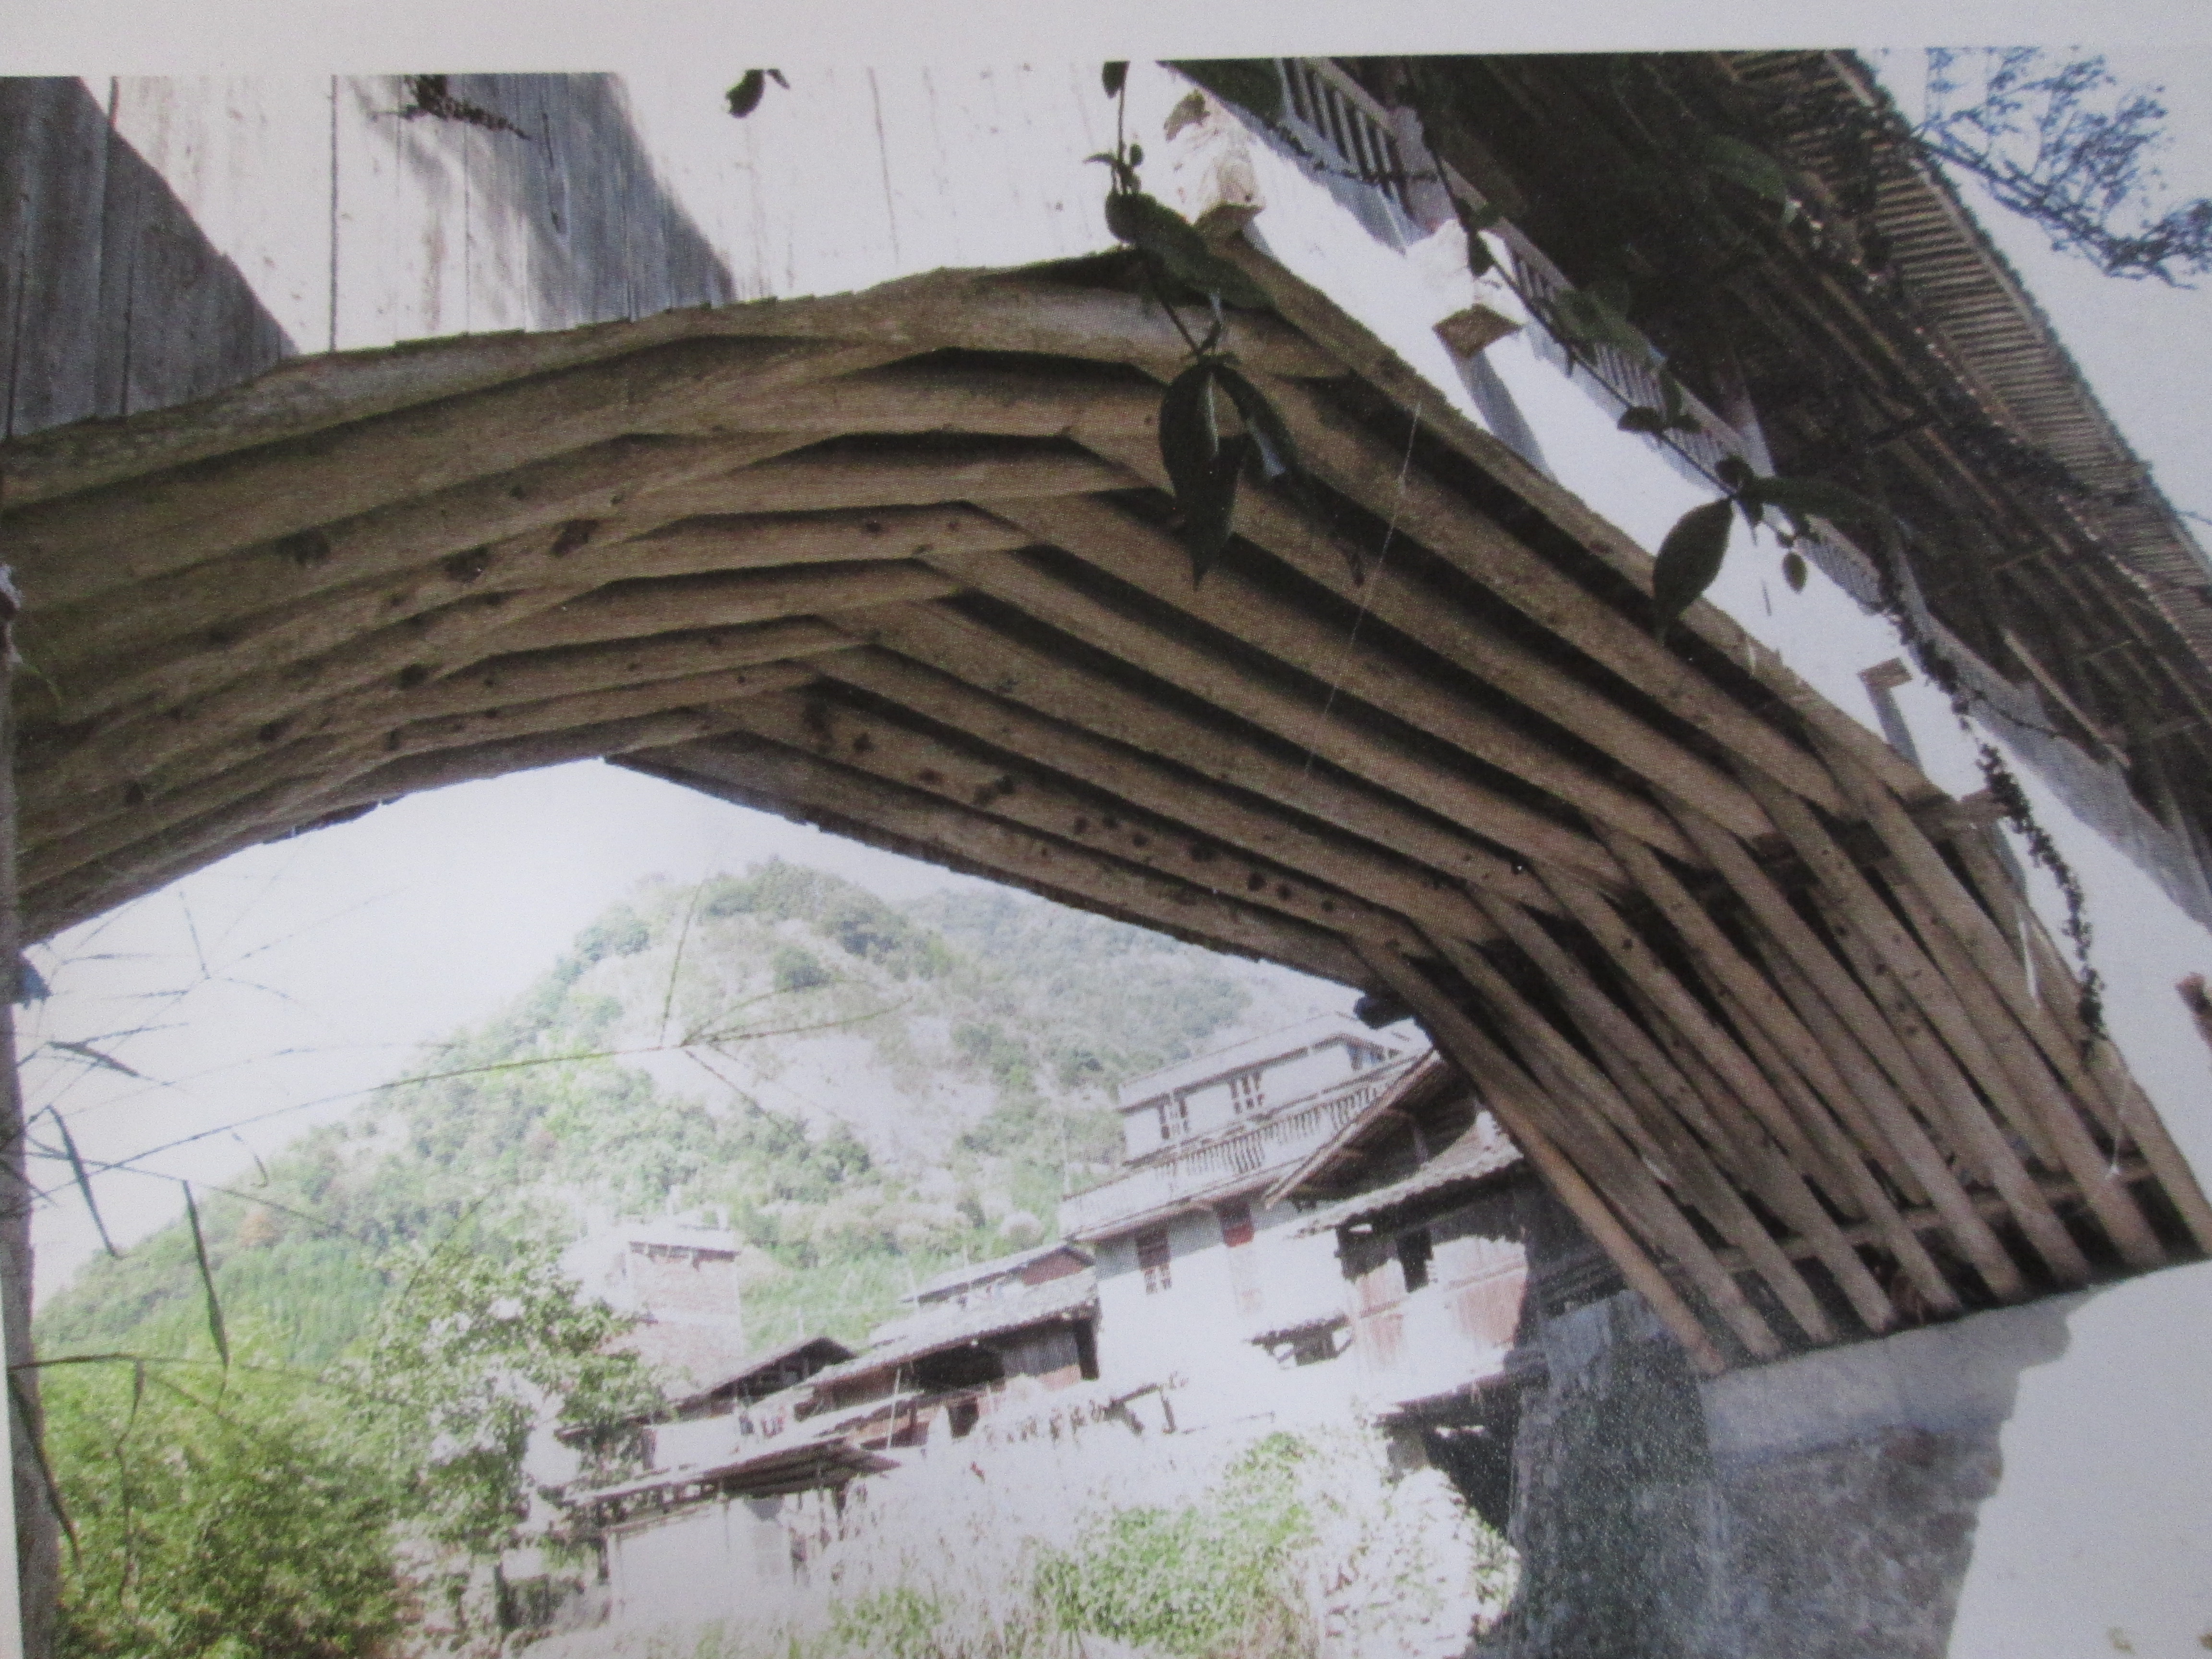
The woven arch "rainbow" design is from China and over 1200 years old. Sometimes called a "chopstick" bridge to get the idea of how it is put together and how it works to span a distance and support a load I would literally start here. After a trip to Walmart and getting my chopsticks I was ready to begin by following the steps shown in the pictures. This was much more difficult than it looked.

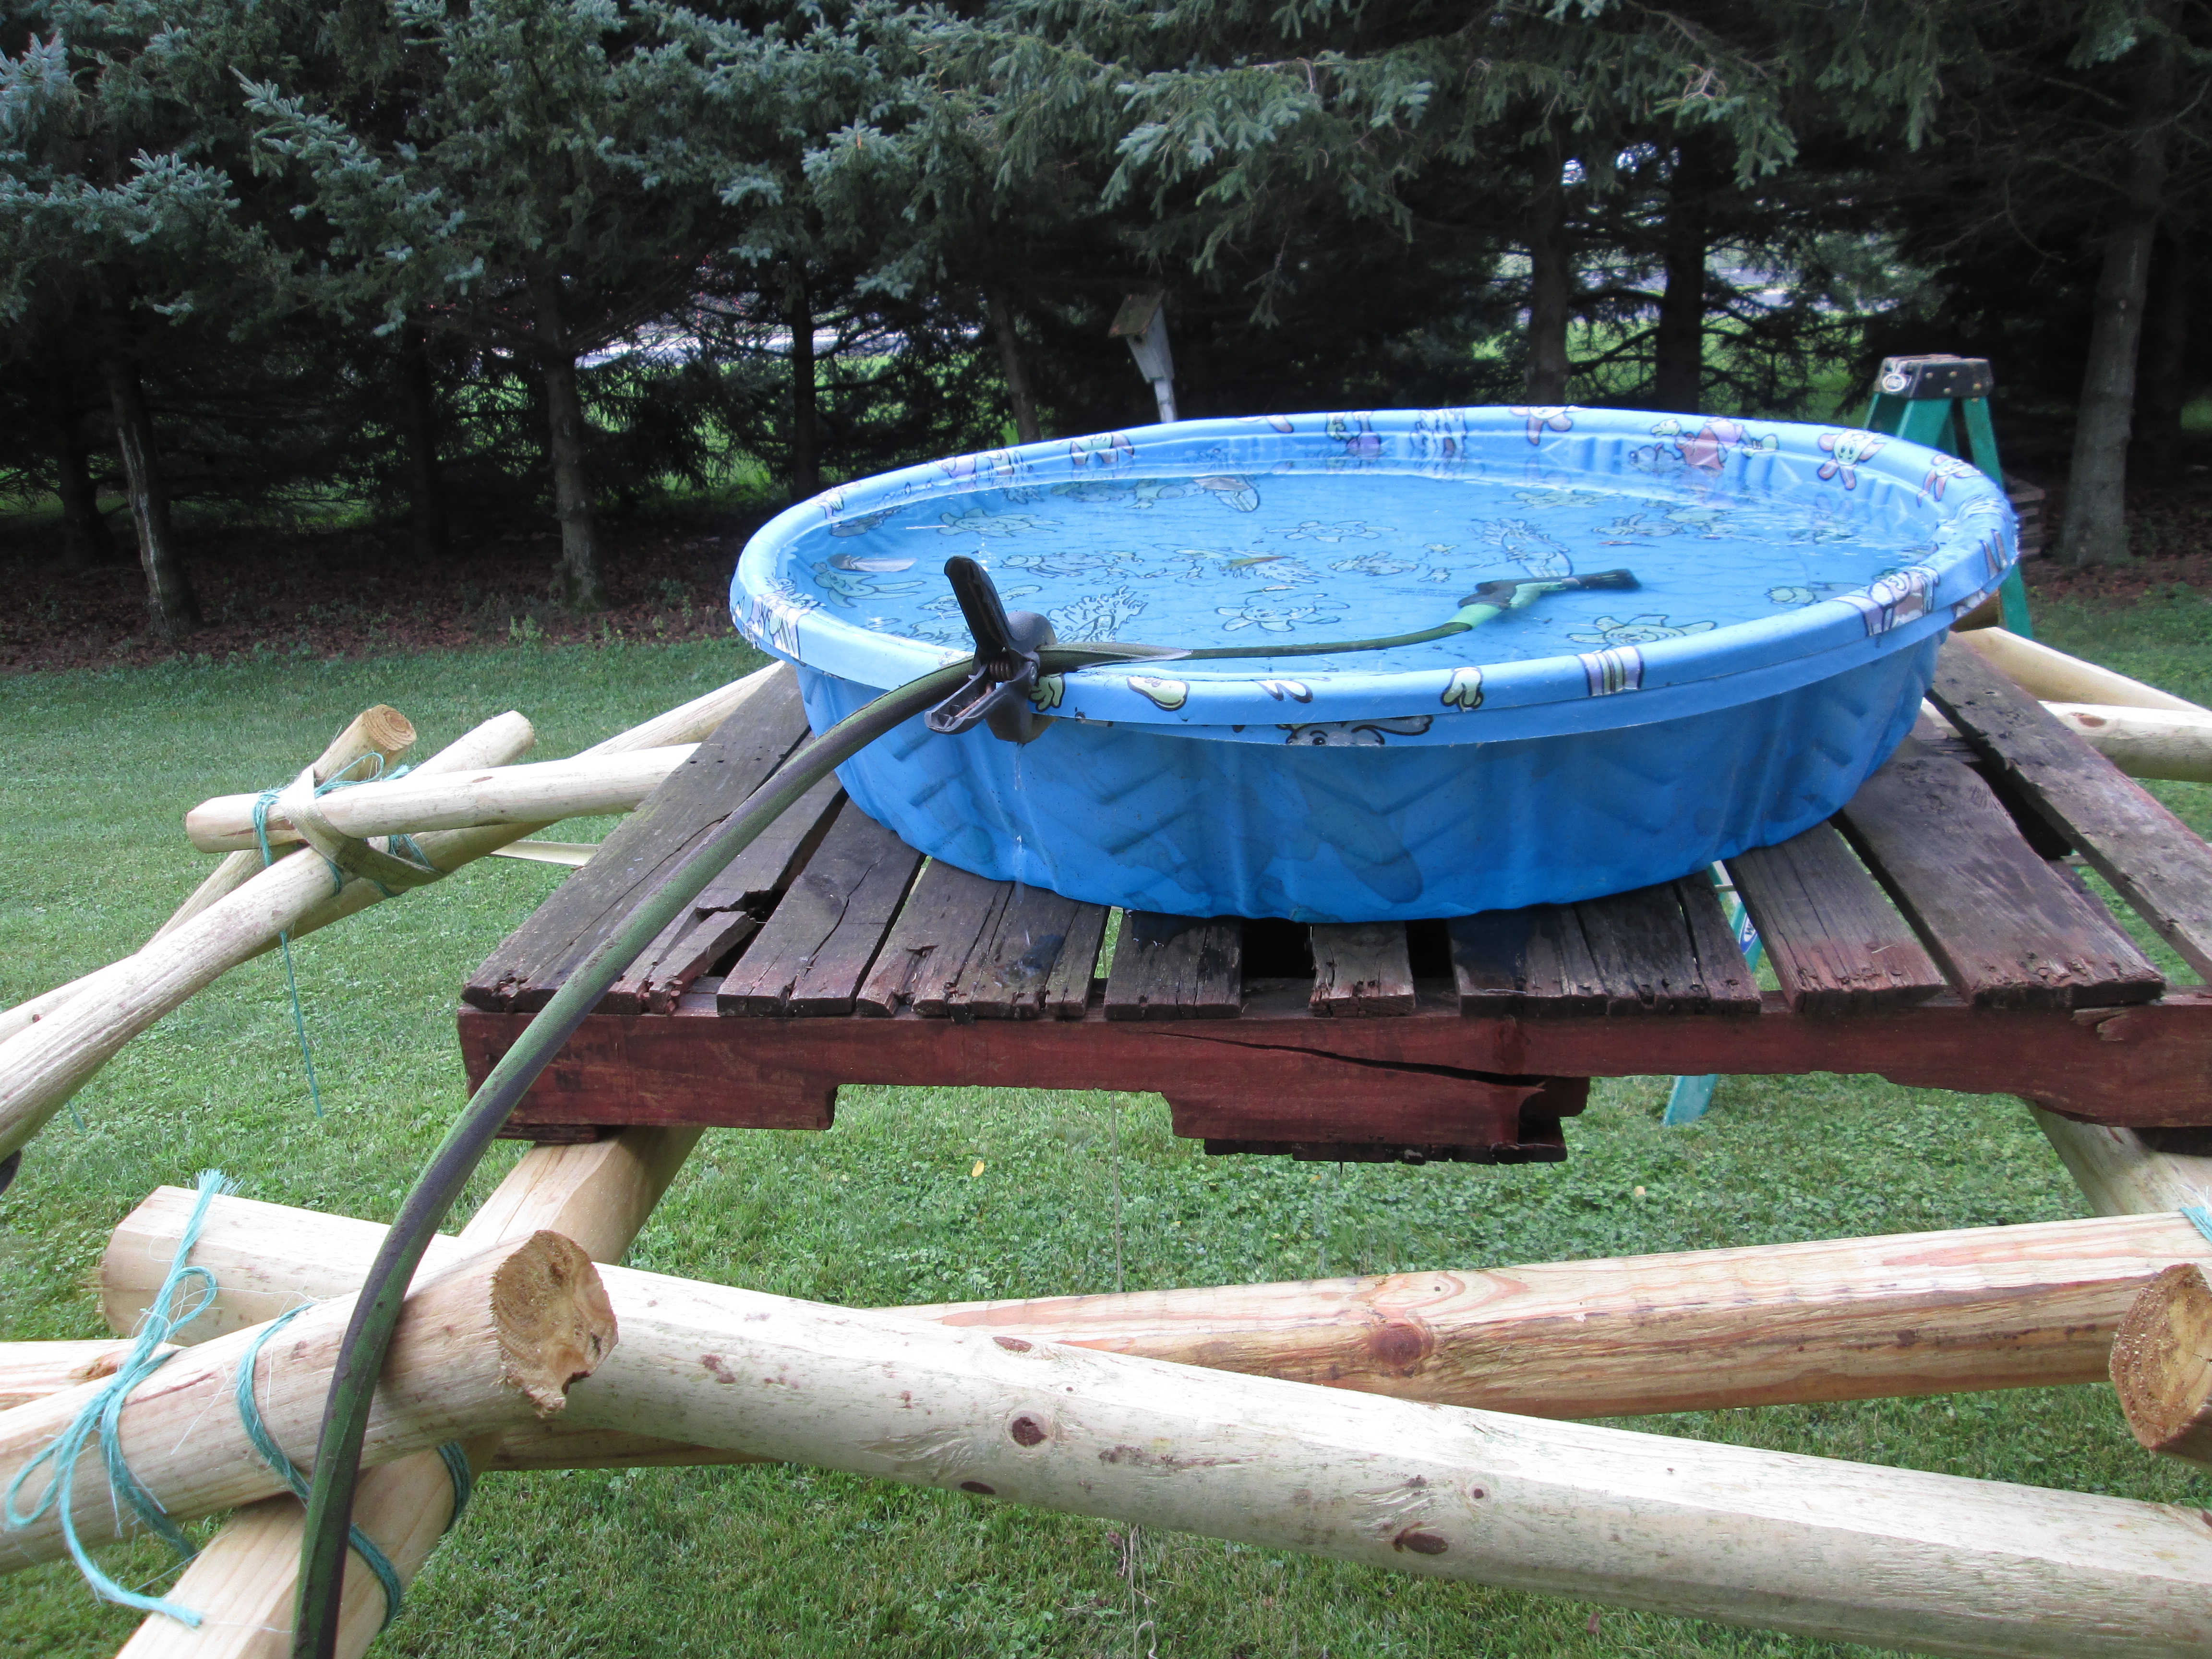
Several try and 20 chopsticks latter I had it. I splayed out the bottom legs to add stability but can now build this in less than 3 minutes! So now it was on the the next step. I would build my small bridge out of 8 foot long landscape timbers.

Just to keep interest I will show you the finished product. Amazing how there are no fasteners and this can hold 500 pounds!

Being a retired high school Tech Ed instructor and not an engineer I relied on common sense and experience as I experimented. First I designed and built a simple load tester. I modified and added a pressure gauge to my bottle jack. Each landscape timber was positioned in the fixture so the bottle jack could jack it up 1 inch from straight at rest. At this point I recorded the PSI reading on the gauge. The readings ranged from a low of 100 to a high of 600. The lower the PSI reading the weaker the timber's bending strength. Those were used for the lateral cross pieces.


As the bridge grows so does the weight and it is time to replace the helper with a pair of step ladders, beam and two come alongs to raise the bridge legs and add another section.

You can see that in this first model I used a single timber for each bridge side. For the final run I doubled them up for more strength.


As an extra measure of safety because class participants will want to walk over a bridge they build I will be adding an A-frame type safety stop 6 inches below the center of the bridge to catch the bridge should there be a failure of any parts.
No comments:
Post a Comment